Skinet Inventory Tutorial
Quantity control
Adding the update quantity functionality
We will add another dialog component to adjust the quantity of stock of the products. This will take the updated quantity in stock and overwrite the previous value. Create another component in the admin feature folder by running the following command:
ng g c features/admin/update-quantity --skip-testsOpen the update-quantity.component.ts and add the following code:
import { Component, inject } from '@angular/core';
import { FormsModule } from '@angular/forms';
import { MatButtonModule } from '@angular/material/button';
import { MAT_DIALOG_DATA, MatDialogModule, MatDialogRef } from '@angular/material/dialog';
import { MatFormFieldModule, MatLabel } from '@angular/material/form-field';
import { MatInputModule } from '@angular/material/input';

@Component({
  selector: 'app-update-quantity',
  standalone: true,
  imports: [
    MatDialogModule,
    MatFormFieldModule,
    FormsModule,
    MatLabel,
    MatButtonModule,
    MatInputModule
  ],
  templateUrl: './update-quantity.component.html',
  styleUrl: './update-quantity.component.scss'
})
export class UpdateQuantityComponent {
  data = inject(MAT_DIALOG_DATA);
  updatedQuantity = this.data.quantity;
  private dialogRef = inject(MatDialogRef<UpdateQuantityComponent>);

  updateQuantity() {
    if (this.updatedQuantity > 0) {
      this.dialogRef.close({
        updatedQuantity: this.updatedQuantity
      })
    }
  }
}
In this code we pass the existing quantity as a property of the data object we receive in the dialog component. We then have an updateQuantity() method that is called when the user submits the form. We are also using the FormsModule from Angular here to give us 2-way binding from the input in the dialog template to the component for the updatedQuantity property.
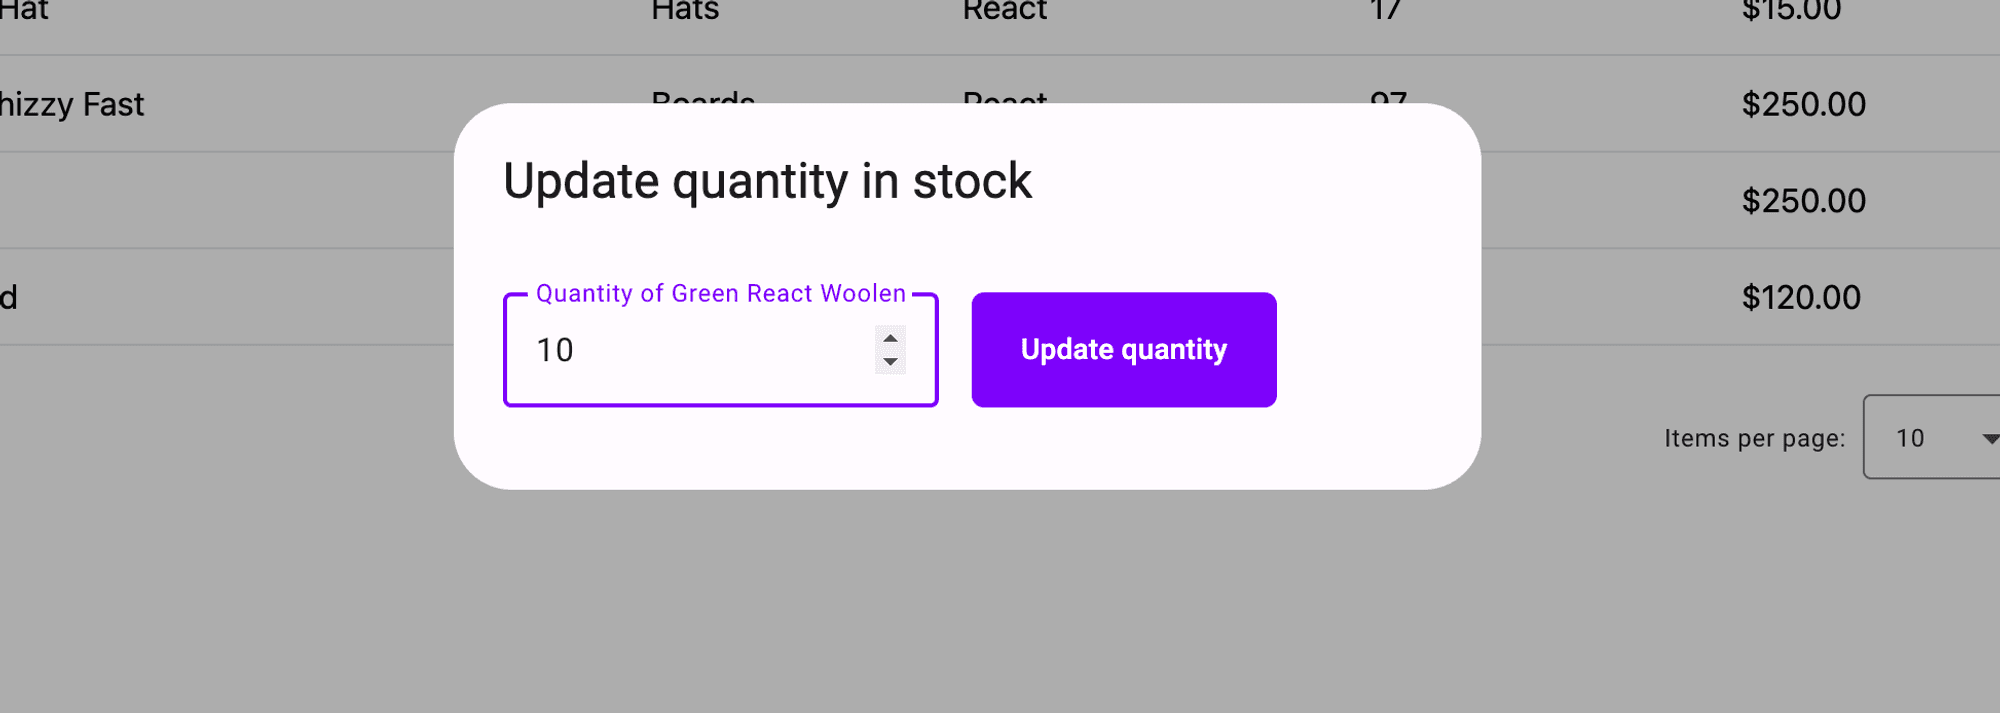
Next, update the template with this code:
<h2 mat-dialog-title>Update quantity in stock</h2>

<mat-dialog-content>
    <div class="flex gap-4 mt-6">
        <mat-form-field appearance="outline" class="flex">
            <mat-label>Quantity of {{data.name}}</mat-label>
            <input matInput min="0" [(ngModel)]="updatedQuantity" type="number">
        </mat-form-field>
        <button [disabled]="data.quantity === updatedQuantity" (click)="updateQuantity()" mat-flat-button
            class="match-input-height">
            Update quantity
        </button>
    </div>
</mat-dialog-content>
This is pretty much the same code as the update quantity for the product-detail.component.html other than it is inside a <mat-dialog-content> component.
Next, create the method in the admin-catalog.component.ts to open this dialog and submit the updated quantity when the button is clicked.
  openQuantityDialog(product: Product) {
    const dialog = this.dialog.open(UpdateQuantityComponent, {
      minWidth: '500px',
      data: {
        quantity: product.quantityInStock,
        name: product.name
      }
    })
    dialog.afterClosed().subscribe({
      next: async result => {
        if (result) {
          console.log(result);
          await firstValueFrom(this.adminService.updateStock(product.id, result.updatedQuantity));
          const index = this.products.findIndex(p => p.id === product.id);
          if (index !== -1) {
            this.products[index].quantityInStock = result.updatedQuantity;
          }
        }
      }
    })
  }
Then update the actions array in this same component to call this function upon button click:
    {
      label: 'Update quantity',
      icon: 'add_circle',
      tooltip: 'Update quantity in stock',
      action: (row: any) => {
        this.openQuantityDialog(row);
      }
    },
You should now be able to test this new functionality and update the quantity in stock for each product:
Ensure the quantity is reflected in the table after the update.
Displaying the quantity on the product details page
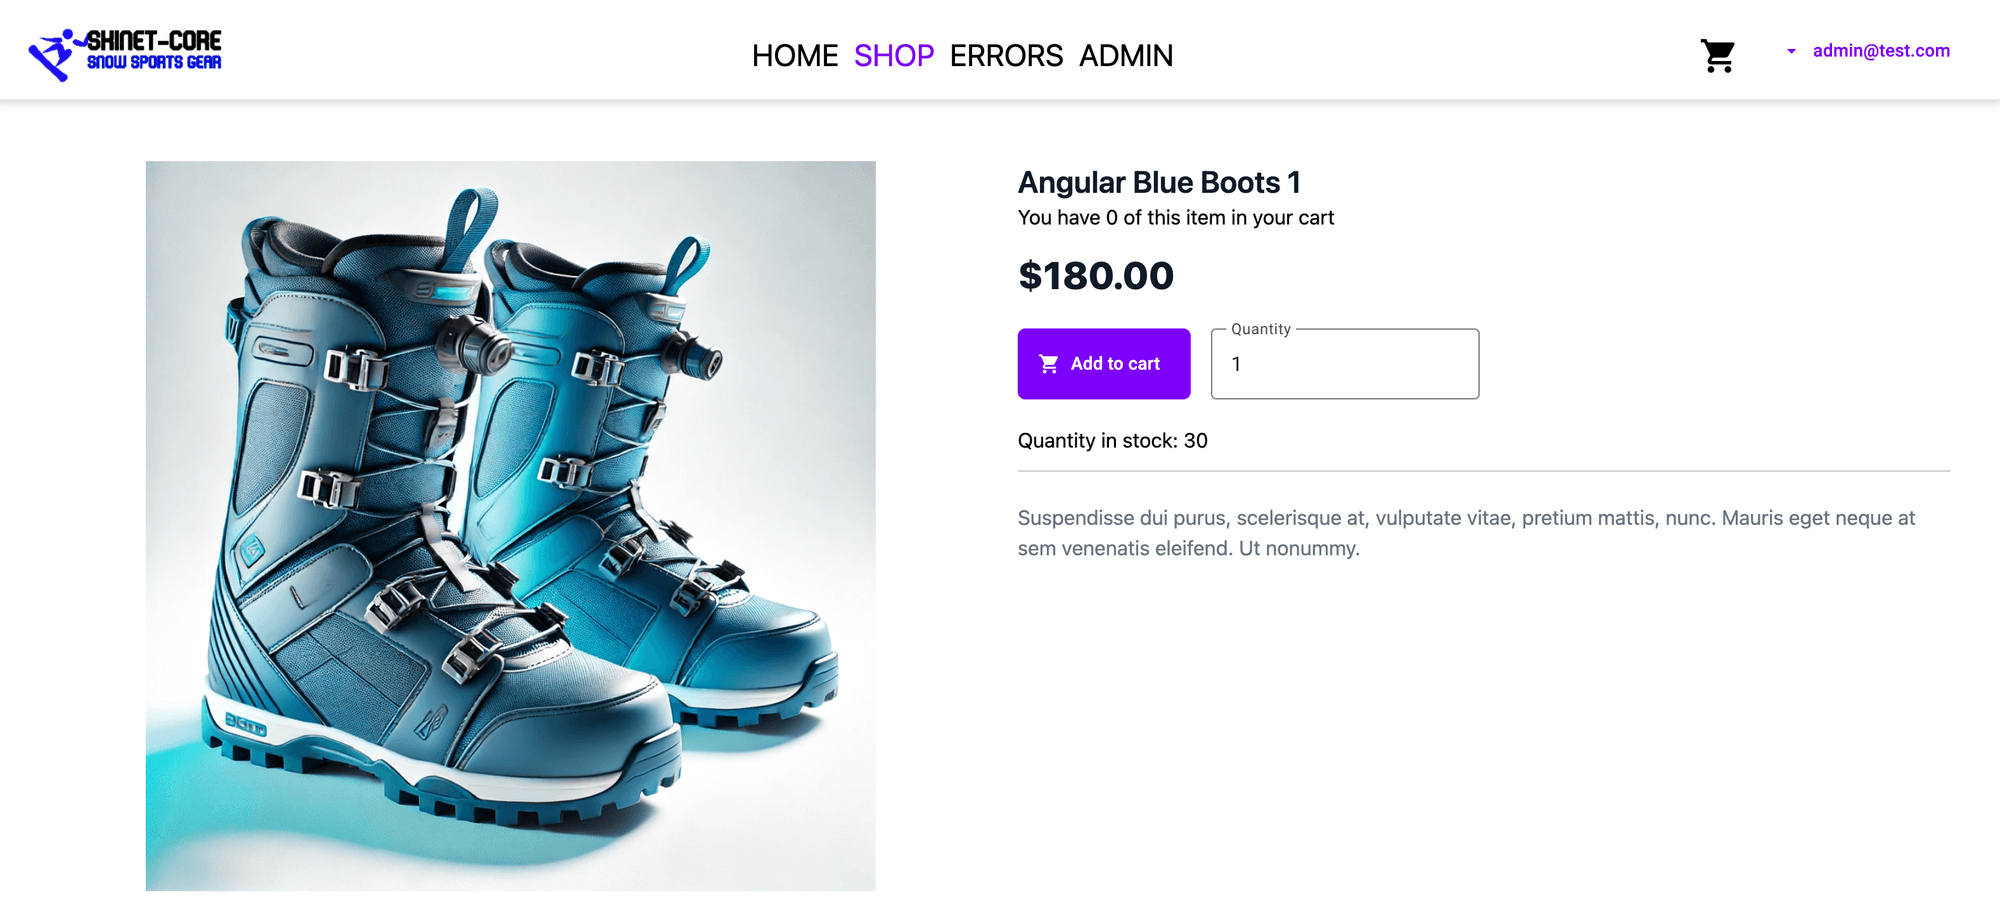
Currently, we have not made use of the QuantityInStock property of the products in the app and regardless of what this actually is we allow users to order them anyway. Let’s first display this in the product details component. Open the product-details.component.html and add the following code just above the divider:
<div class="flex items-center align-middle mb-3">
    Quantity in stock: {{product.quantityInStock}}
</div>

<mat-divider></mat-divider>
This should give us:
We won’t prevent the user from ordering more than in stock just yet as we want to test failure conditions if a user places an order over the stock amount.
Reduce the quantity when the order is placed
When a user places an order this is the point where we will reduce the stock. Open the OrdersController.cs in the API project and adjust the CreateOrder method with the following code:
[InvalidateCache("api/products|")]
[HttpPost]
public async Task<ActionResult<Order>> CreateOrder(CreateOrderDto orderDto)
{
    var email = User.GetEmail();

    var cart = await cartService.GetCartAsync(orderDto.CartId);

    if (cart == null) return BadRequest("Cart not found");

    if (cart.PaymentIntentId == null) return BadRequest("No payment intent for this order");

    var items = new List<OrderItem>();

    foreach (var item in cart.Items)
    {
        var productItem = await unit.Repository<Product>().GetByIdAsync(item.ProductId);

        if (productItem == null) return BadRequest("Problem with the order");

        if (productItem.QuantityInStock < item.Quantity)
        {
            return BadRequest($"Not enough stock for product {item.ProductName}. Available stock: {productItem.QuantityInStock}");
        }

        // Reduce the stock by the ordered quantity
        productItem.QuantityInStock -= item.Quantity;

        var itemOrdered = new ProductItemOrdered
        {
            ProductId = item.ProductId,
            ProductName = item.ProductName,
            PictureUrl = item.PictureUrl
        };

        var orderItem = new OrderItem
        {
            ItemOrdered = itemOrdered,
            Price = productItem.Price,
            Quantity = item.Quantity
        };
        items.Add(orderItem);

        unit.Repository<Product>().Update(productItem);
    }

    var deliveryMethod = await unit.Repository<DeliveryMethod>().GetByIdAsync(orderDto.DeliveryMethodId);

    if (deliveryMethod == null) return BadRequest("No delivery method selected");

    var order = new Order
    {
        OrderItems = items,
        DeliveryMethod = deliveryMethod,
        ShippingAddress = orderDto.ShippingAddress,
        Subtotal = items.Sum(x => x.Price * x.Quantity),
        Discount = orderDto.Discount,
        PaymentSummary = orderDto.PaymentSummary,
        PaymentIntentId = cart.PaymentIntentId,
        BuyerEmail = email
    };

    unit.Repository<Order>().Add(order);

    if (await unit.Complete())
    {
        return order;
    }

    return BadRequest("Problem creating order");
}
In this code lets take a look at the changes:
Line 1: We are invalidating the cache as this will ensure the updated product quantity is returned for the next request.
Lines 21-24: We check to ensure we have enough stock to fulfil the order and if not return a bad request. We prevent the order even if other products in stock are ordered to allow the user to update their cart.
Line 44: We use the product repository to update the affected product.
Refactoring the order and payment submission
Now that we are checking the stock in the order creation, we need to ensure this part happens first to avoid the scenario where the user makes a payment only to find out afterwards that the items in the order are not in stock.
Note: We are preventing the order from taking place here if the item is not in stock (lets call it the Sony Playstation 5 strategy), but an alternative approach (lets call it the Apple any product strategy) is to have backorder handling and create a system to manage orders for out-of-stock items and automatically fulfil them when restocked. This is more complex so we will go for the simpler option - the “PS5” strategy.
In the checkout.component.ts replace the confirmPayment() method with the following:
async confirmPayment(stepper: MatStepper) {
this.loading = true;
try {
if (!this.confirmationToken) {
throw new Error('No confirmation token available');
}
// Create the order first to check stock
const order = await this.createOrderModel();
const orderResult = await firstValueFrom(this.orderService.createOrder(order));
if (!orderResult) {
throw new Error('Order creation failed or out of stock');
}
// Proceed with payment after order creation
const paymentResult = await this.stripeService.confirmPayment(this.confirmationToken);
if (paymentResult.paymentIntent?.status === 'succeeded') {
await this.handleOrderSuccess();
} else if (paymentResult.error) {
throw new Error(paymentResult.error.message);
} else {
throw new Error('Payment confirmation failed');
}
} catch (error: any) {
console.log(error.error);
this.handleError(error.error || error.message || 'Something went wrong', stepper);
} finally {
this.loading = false;
}
}
private async handleOrderSuccess() {
// Complete the order after successful payment
this.orderService.orderComplete = true;
this.cartService.deleteCart();
this.cartService.selectedDelivery.set(null);
this.router.navigateByUrl('/checkout/success');
}
private handleError(message: string, stepper: MatStepper) {
this.snackbar.error(message);
stepper.previous();
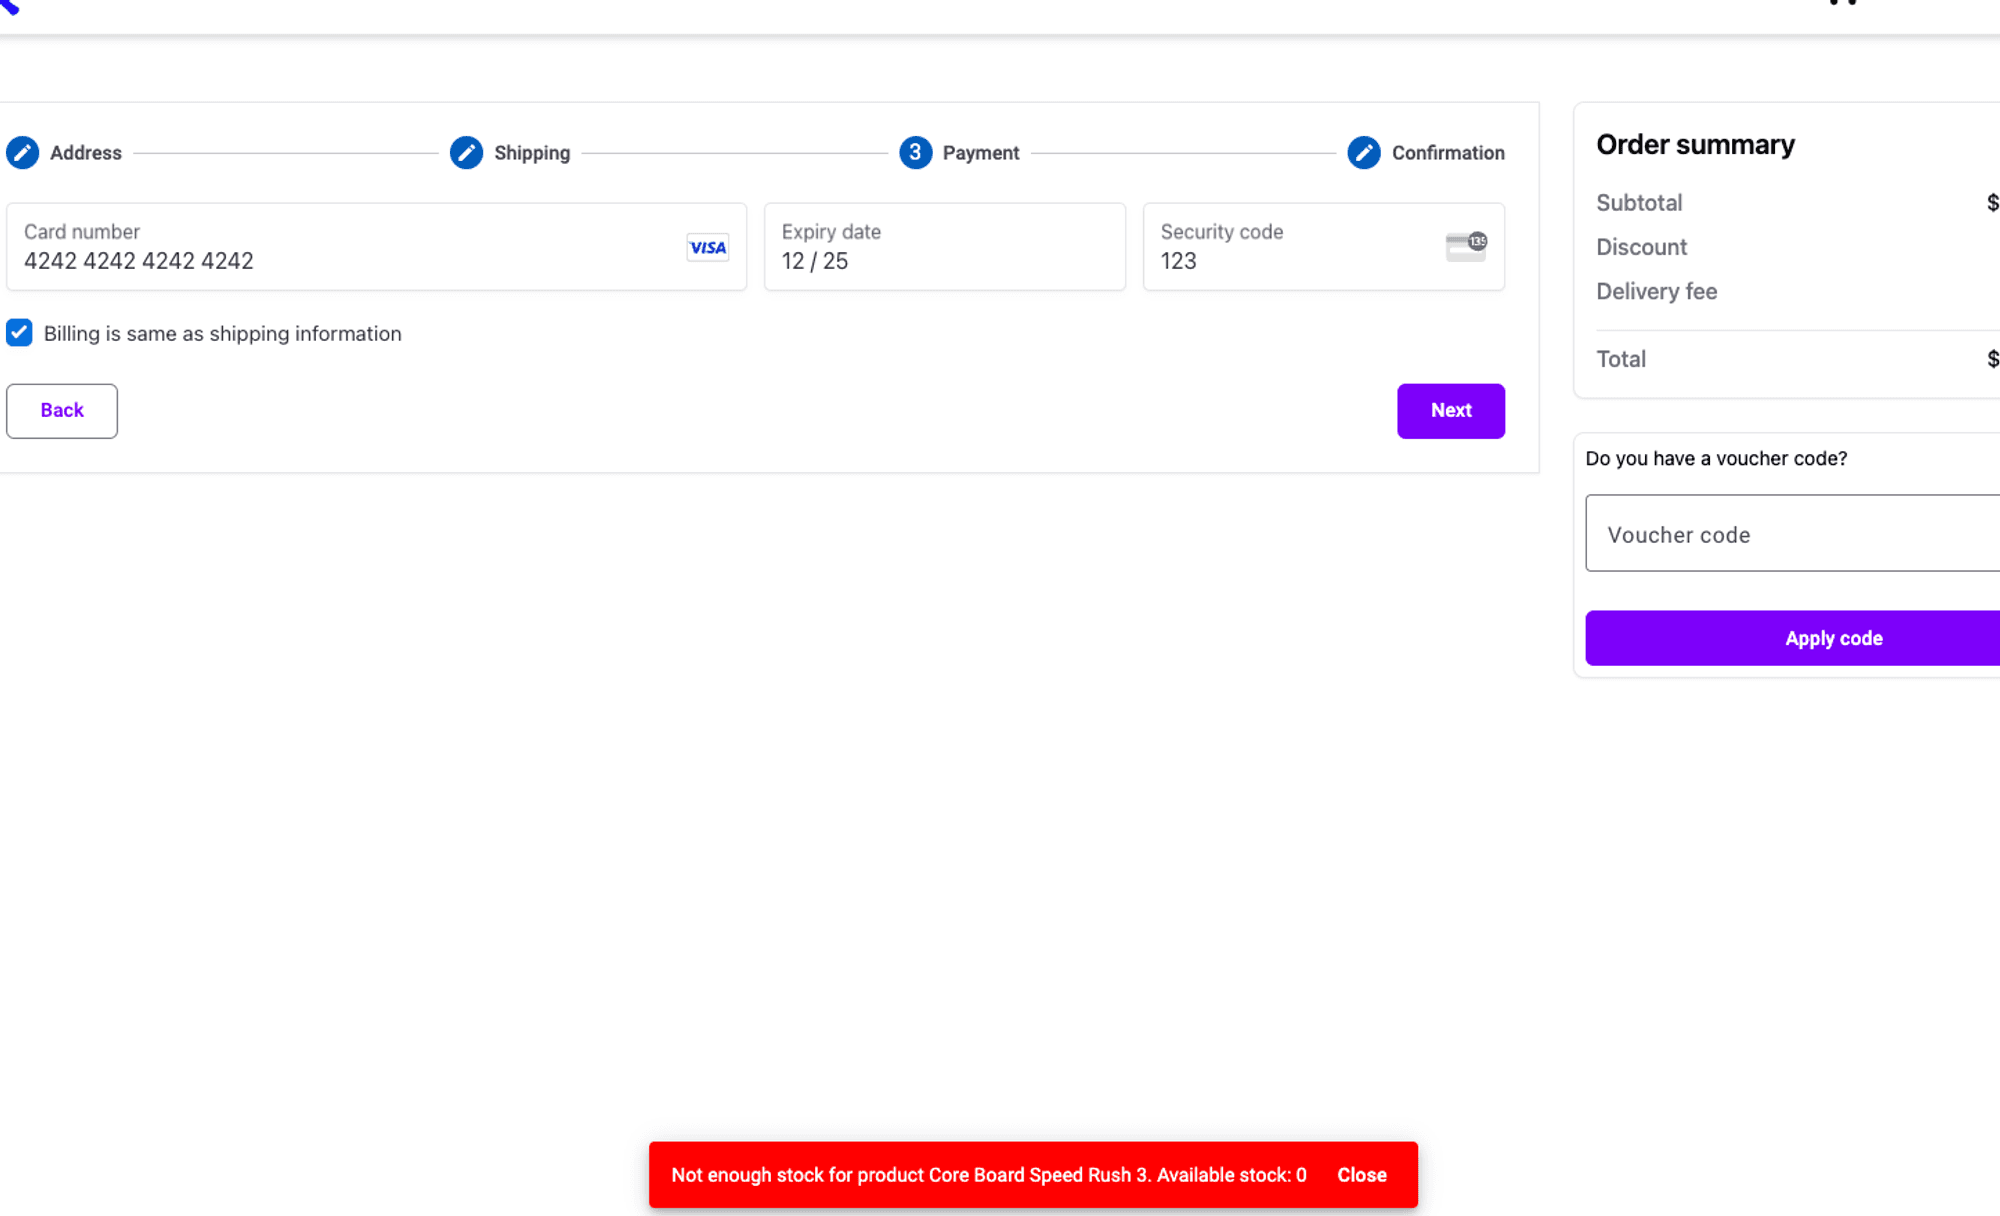
}Now try and place an order as a normal user that cannot be fulfilled due to not enough stock. This should result in a 400 bad request.
It’s not a perfect user experience as we have only bumped the user back to the payment but it will suffice for this example. There are a number of ways this could be improved if you are up for the challenge! Examples of this could be to:
- Bump the user back to the cart page and remove the item or reduce the quantity not in stock.
- Use SignalR and use realtime notifications to update the cart for online users with the current stock levels.
Handling payment failures after order is created
Another thing to handle is the fact that the order could be created but the payment fails now that we have swapped the payment and order creation around.
In the OrderAggregate OrderStatus.cs we already have a status for this:
namespace Core.Entities.OrderAggregate;

public enum OrderStatus
{
    Pending,
    PaymentReceived,
    PaymentFailed,
    PaymentMismatch,
    Refunded
}
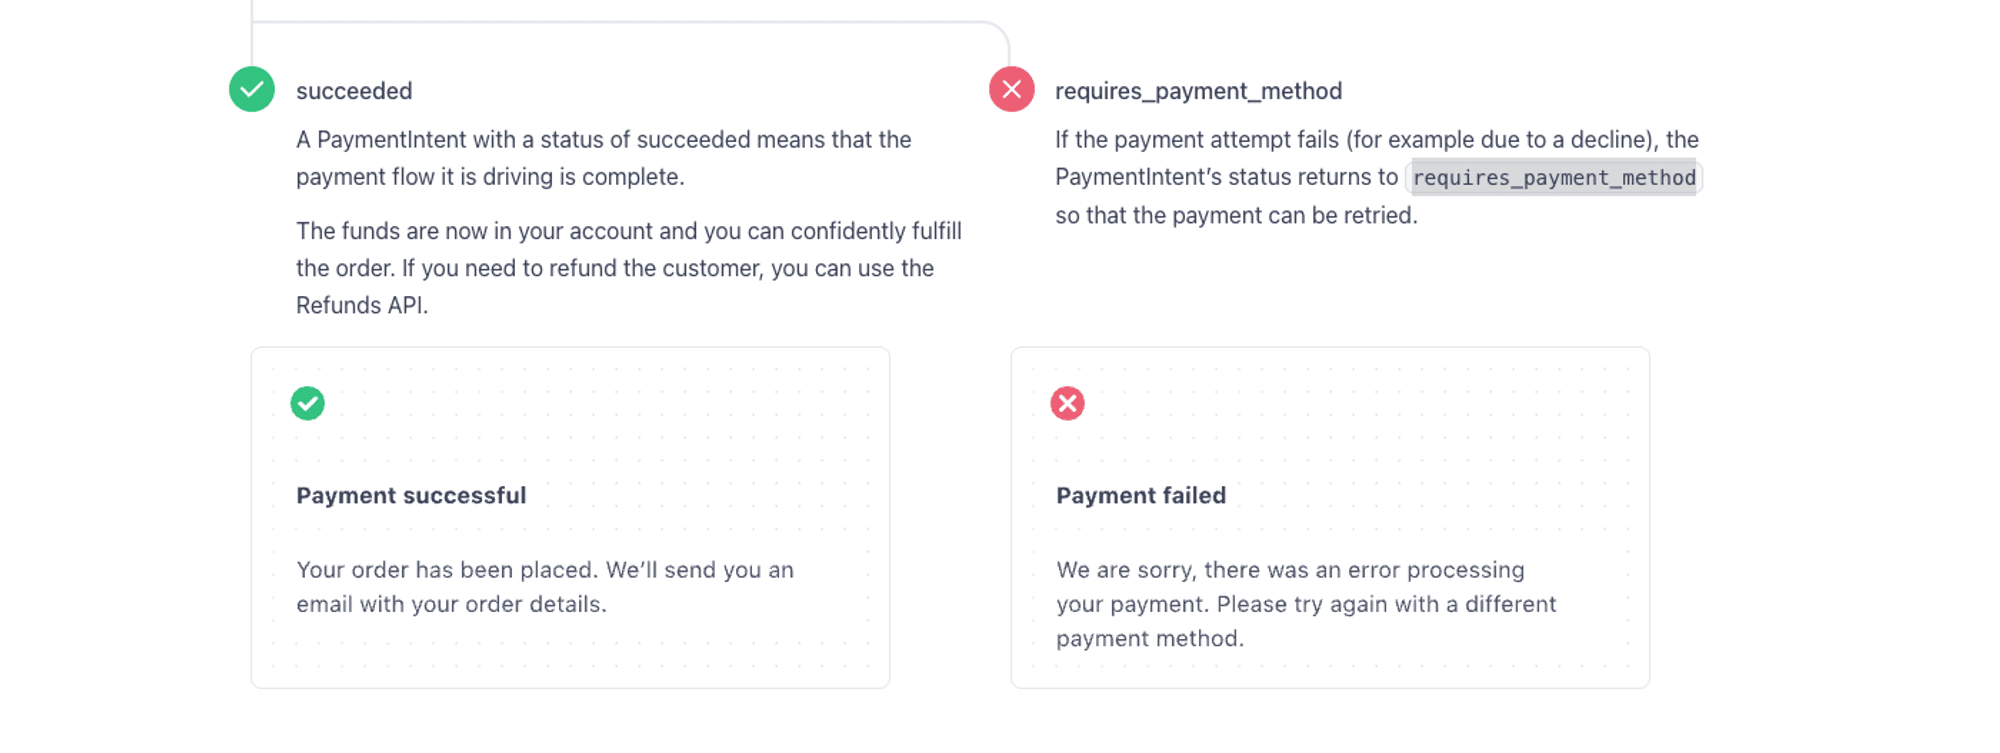
We can use this for this kind of circumstance. In the event that an order is created but the payment fails then we need to presume the user will give up and never come back so that means updating the quantities of stock removed when the order was placed, and setting the status of the order to PaymentFailed. We need to rely on the Webhook from Stripe for this function.
If a payment fails the payment intent status will be ‘requires_payment_method’ as per the docs here.
Update the StripeWebHook() method in the PaymentsController.cs in the API project to the following:
 [HttpPost("webhook")]
    public async Task<IActionResult> StripeWebhook()
    {
        var json = await new StreamReader(Request.Body).ReadToEndAsync();

        try
        {
            var stripeEvent = ConstructStripeEvent(json);

            if (stripeEvent.Data.Object is not PaymentIntent intent)
            {
                return BadRequest("Invalid event data");
            }

            if (intent.Status == "succeeded") await HandlePaymentIntentSucceeded(intent);
            else await HandlePaymentIntentFailed(intent);

            return Ok();
        }
        catch (StripeException ex)
        {
            logger.LogError(ex, "Stripe webhook error");
            return StatusCode(StatusCodes.Status500InternalServerError, "Webhook error");
        }
        catch (Exception ex)
        {
            logger.LogError(ex, "An unexpected error occurred");
            return StatusCode(StatusCodes.Status500InternalServerError, "An unexpected error occurred");
        }
    }

    private async Task HandlePaymentIntentSucceeded(PaymentIntent intent)
    {
        var spec = new OrderSpecification(intent.Id, true);

        var order = await unit.Repository<Order>().GetEntityWithSpec(spec)
            ?? throw new Exception("Order not found");

        var orderTotalInCents = (long)Math.Round(order.GetTotal() * 100,
            MidpointRounding.AwayFromZero);

        if (orderTotalInCents != intent.Amount)
        {
            order.Status = OrderStatus.PaymentMismatch;
        }
        else
        {
            order.Status = OrderStatus.PaymentReceived;
        }

        await unit.Complete();

        var connectionId = NotificationHub.GetConnectionIdByEmail(order.BuyerEmail);

        if (!string.IsNullOrEmpty(connectionId))
        {
            await hubContext.Clients.Client(connectionId)
                .SendAsync("OrderCompleteNotification", order.ToDto());
        }
    }

    private async Task HandlePaymentIntentFailed(PaymentIntent intent)
    {
        // create spec for order with order items based on intent id
        var spec = new OrderSpecification(intent.Id, true);

        var order = await unit.Repository<Order>().GetEntityWithSpec(spec)
            ?? throw new Exception("Order not found");

        // update quantities for the products in stock based on the failed order
        foreach (var item in order.OrderItems)
        {
            var productItem = await unit.Repository<Core.Entities.Product>()
                .GetByIdAsync(item.ItemOrdered.ProductId)
                    ?? throw new Exception("Problem updating order stock");

            productItem.QuantityInStock += item.Quantity;
        }

        order.Status = OrderStatus.PaymentFailed;

        await unit.Complete();
    }
In this code we check in the StripeWebhook method to see if the intent succeeded or not and either call the HandlePaymentIntentSucceeded method if the payment was successful or the HandlePaymentIntentFailed if it did not. The client will be notified of failure directly by Stripe so we do not need to use SignalR to notify them, but we do need to clean up the order, give it the PaymentFailed status and update the quantities in stock for any component that was ordered.
Since it is now possible we already have an order when a user completes checkout (if an order was created but payment failed) we now need to account for this in the OrdersController.cs in the API.
Update the CreateOrder() method to the following:
[InvalidateCache("api/products|")]
    [HttpPost]
    public async Task<ActionResult<Order>> CreateOrder(CreateOrderDto orderDto)
    {
        var email = User.GetEmail();

        var cart = await cartService.GetCartAsync(orderDto.CartId);
        if (cart == null) return BadRequest("Cart not found");

        if (cart.PaymentIntentId == null) return BadRequest("No payment intent for this order");

        var items = new List<OrderItem>();

        foreach (var item in cart.Items)
        {
            var productItem = await unit.Repository<Product>().GetByIdAsync(item.ProductId);
            if (productItem == null) return BadRequest($"Product with ID {item.ProductId} not found");

            if (productItem.QuantityInStock < item.Quantity)
            {
                return BadRequest($"Not enough stock for product {item.ProductName}. Available stock: {productItem.QuantityInStock}");
            }

            // Reduce stock by the ordered quantity
            productItem.QuantityInStock -= item.Quantity;

            var itemOrdered = new ProductItemOrdered
            {
                ProductId = item.ProductId,
                ProductName = item.ProductName,
                PictureUrl = item.PictureUrl
            };

            var orderItem = new OrderItem
            {
                ItemOrdered = itemOrdered,
                Price = productItem.Price,
                Quantity = item.Quantity
            };
            items.Add(orderItem);

            // Update product stock
            unit.Repository<Product>().Update(productItem);
        }

        var deliveryMethod = await unit.Repository<DeliveryMethod>().GetByIdAsync(orderDto.DeliveryMethodId);
        if (deliveryMethod == null) return BadRequest("No delivery method selected");

        // Create the new order object
        var order = new Order
        {
            OrderItems = items,
            DeliveryMethod = deliveryMethod,
            ShippingAddress = orderDto.ShippingAddress,
            Subtotal = items.Sum(x => x.Price * x.Quantity),
            Discount = orderDto.Discount,
            PaymentSummary = orderDto.PaymentSummary,
            PaymentIntentId = cart.PaymentIntentId,
            BuyerEmail = email
        };

        // Check if there is an existing order for the same payment intent
        var spec = new OrderSpecification(cart.PaymentIntentId, true);
        var existingOrder = await unit.Repository<Order>().GetEntityWithSpec(spec);

        if (existingOrder != null)
        {
            // Merge fields to preserve the existing order while updating necessary details
            existingOrder.OrderItems = order.OrderItems;
            existingOrder.DeliveryMethod = order.DeliveryMethod;
            existingOrder.ShippingAddress = order.ShippingAddress;
            existingOrder.Subtotal = order.Subtotal;
            existingOrder.Discount = order.Discount;
            existingOrder.PaymentSummary = order.PaymentSummary;
            existingOrder.BuyerEmail = order.BuyerEmail;

            // Update existing order
            unit.Repository<Order>().Update(existingOrder);
            order = existingOrder; // Set the return value to the updated order
        }
        else
        {
            // Add new order
            unit.Repository<Order>().Add(order);
        }

        // Save changes to the database (including stock updates)
        if (await unit.Complete())
        {
            return order;
        }

        return BadRequest("Problem creating order");
    }
Here we check to see if we do have an existing order and merge this in with the (potentially updated) order being sent up to the API.
We now have everything in place to accommodate the order creation and payment failures. Lets test this with an order that should be accepted and a failed payment.
1. Browse to the app as a normal user and add a product that is in stock to the cart.
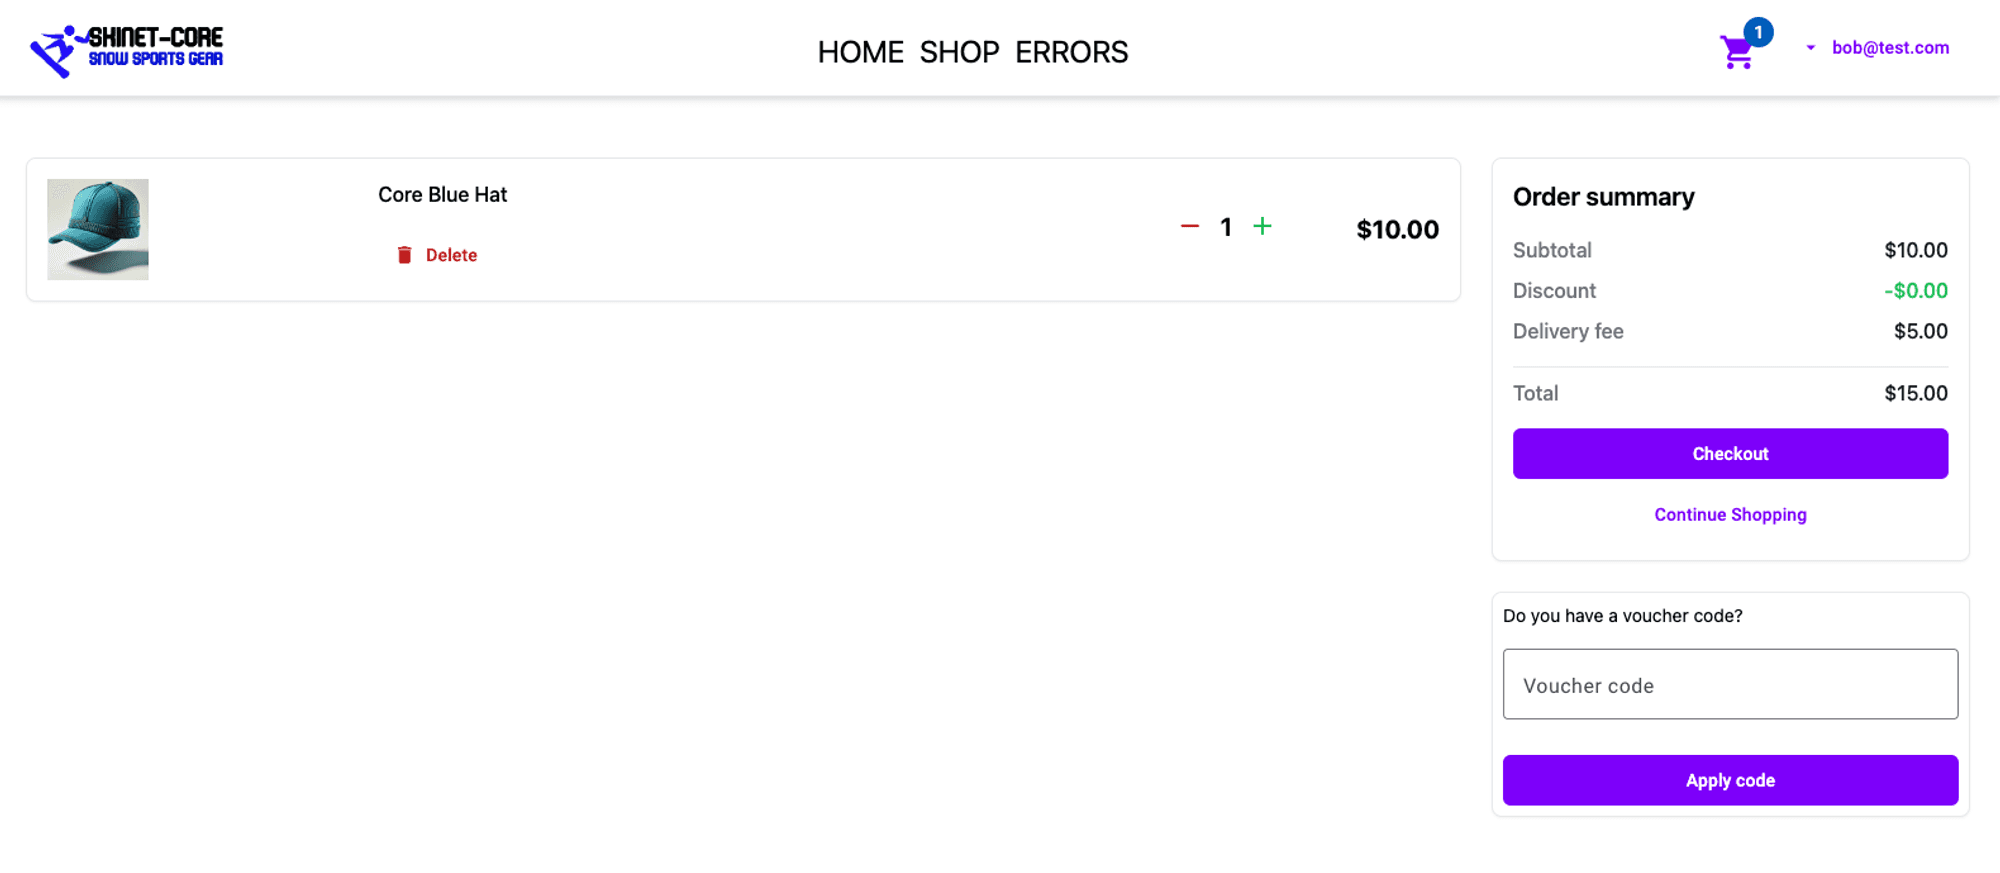
2. Checkout and make your way to the payment card step. Enter a test card number that will result in failure from here.
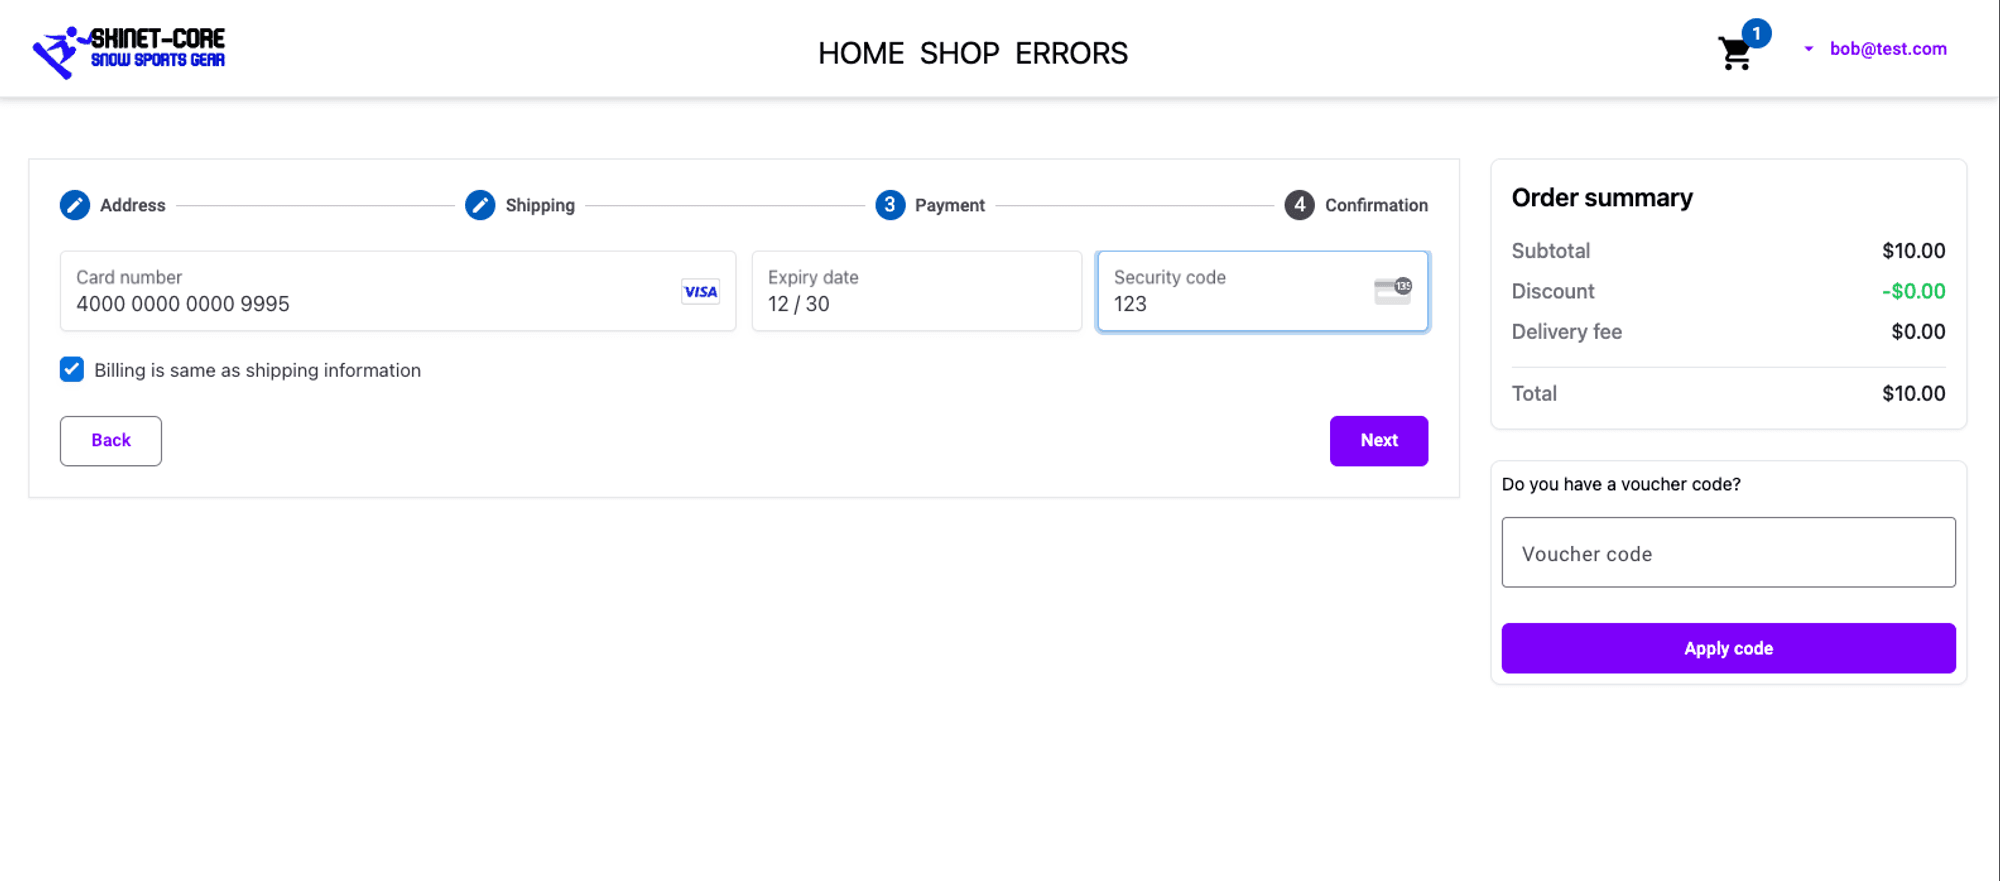
3. On the next step click the Pay button and the card should be declined pushing you back to the payment card step with the notification:
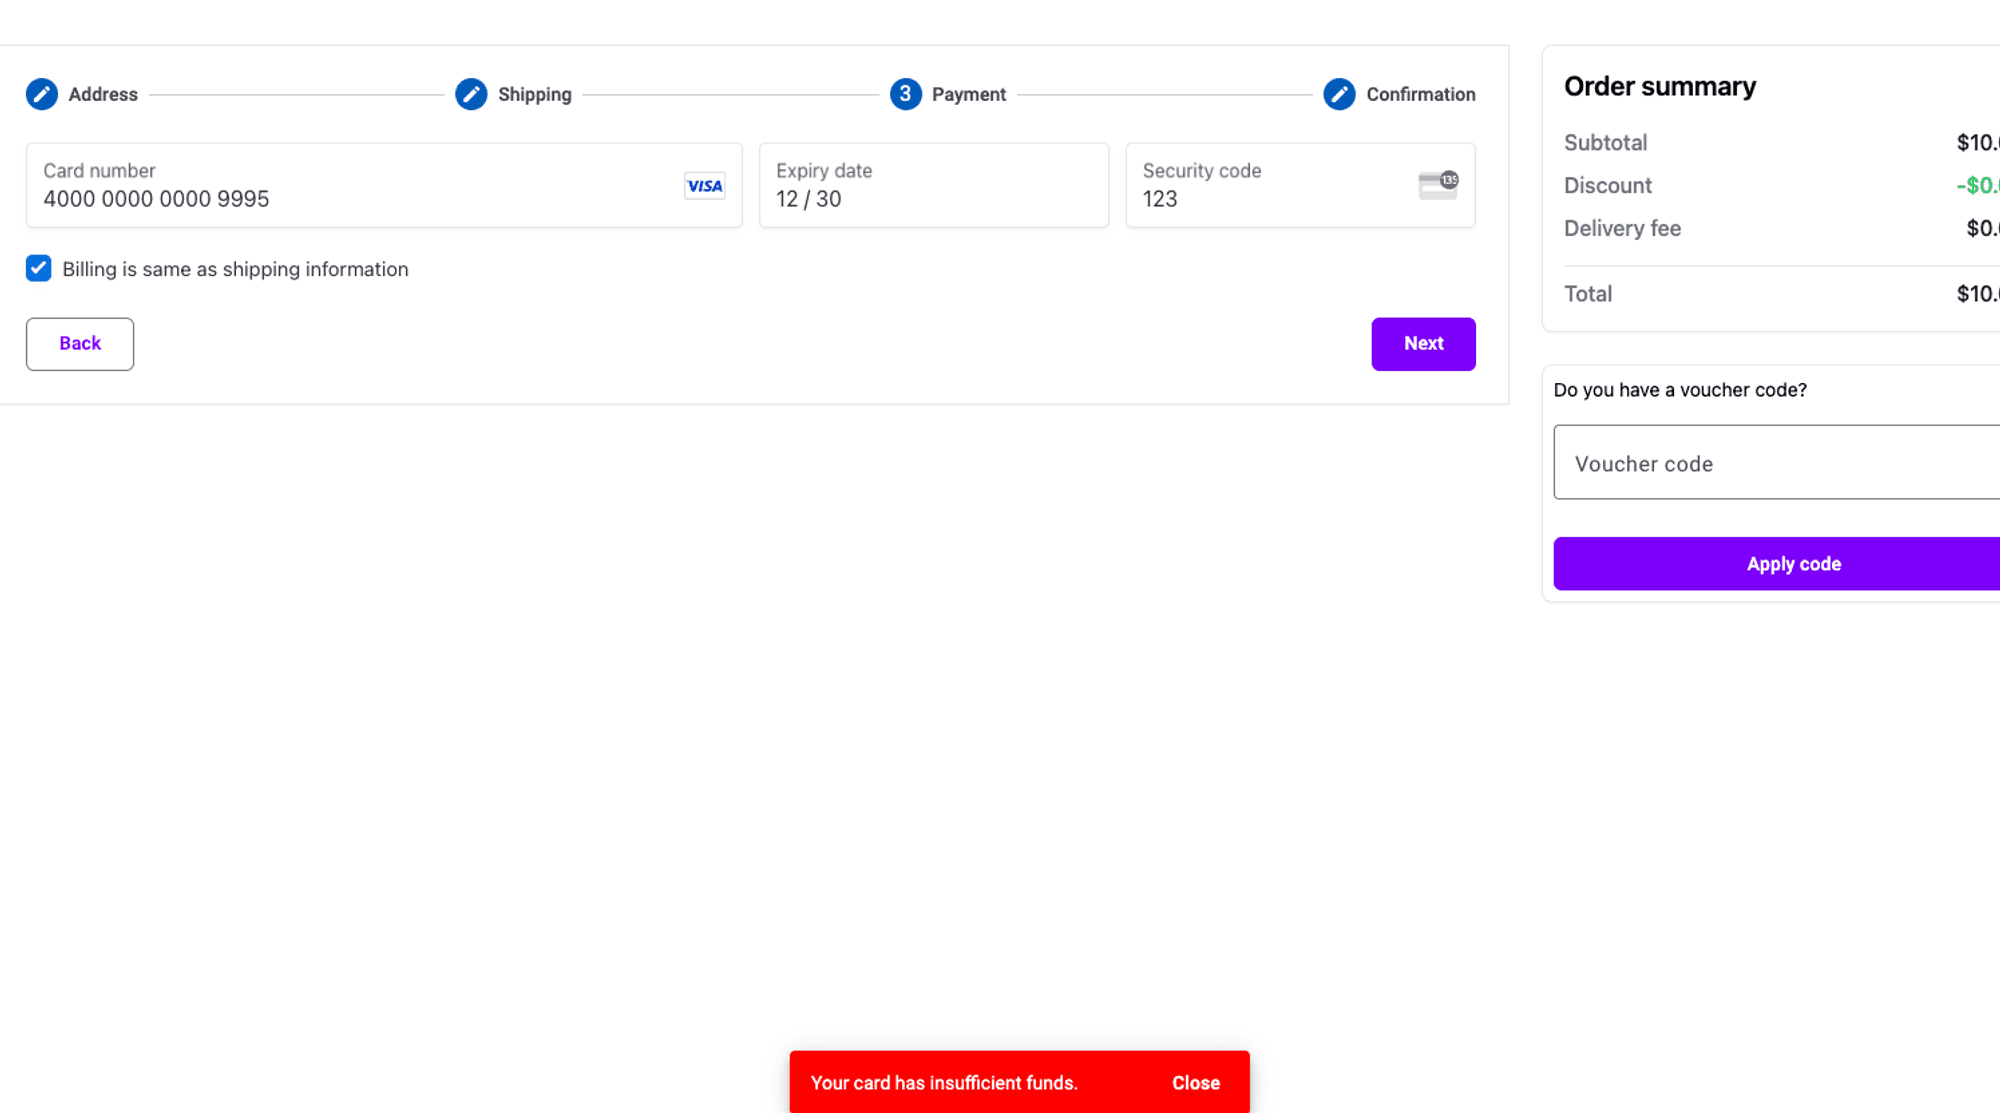
At this point the order should have been created and based on the webhook the order should have a status of PaymentFailed. Check the orders to confirm this:
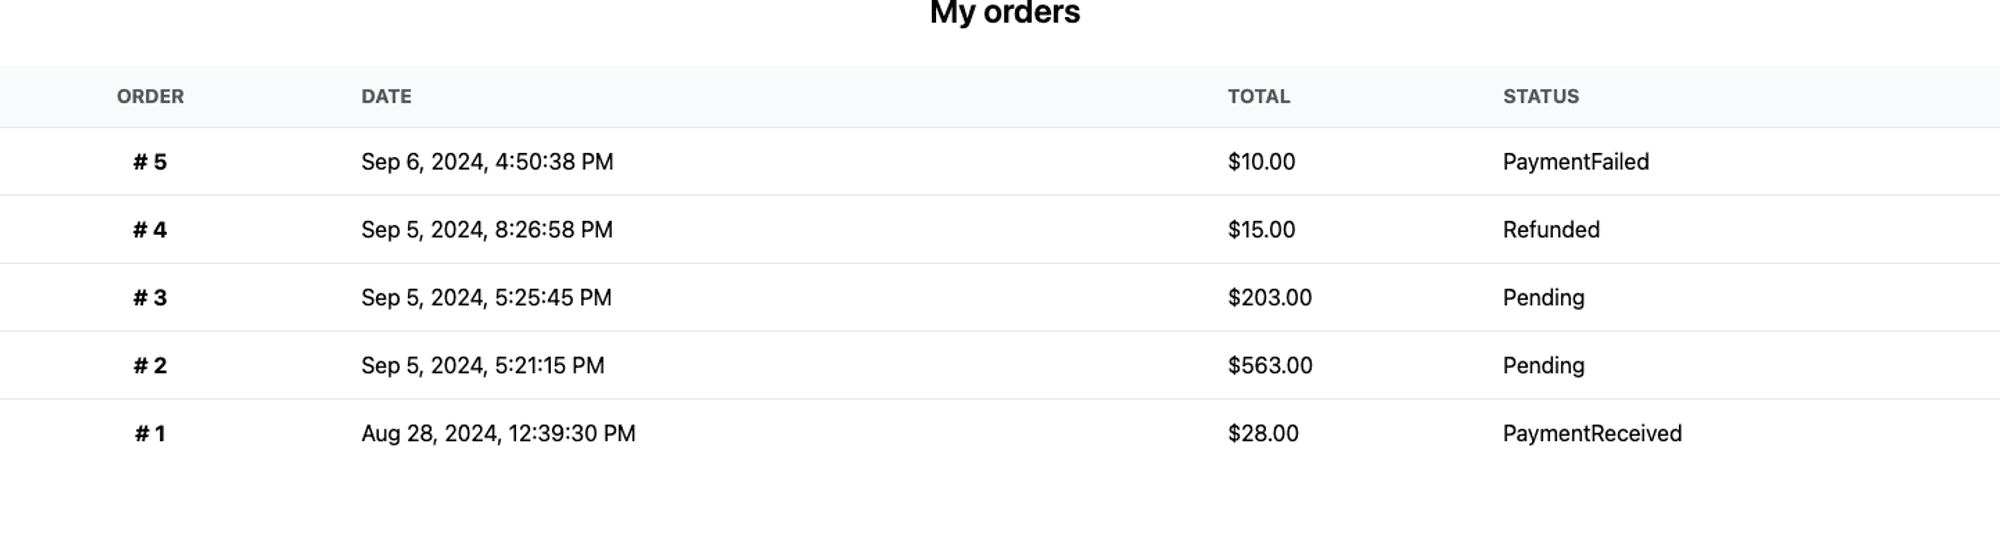
Also make sure the Catalog reflects the correct stock number for this failed order. In my case before the order was placed the Core Blue Hat was at 31, after the order failed it is still 31.
Retry the payment with a good card number and ensure the order is created, the order status is correct and the stock is reduced. This should work:
So we have made it and implemented a basic product management system in the app! Congratulations.
You can now commit your changes to GitHub for this new functionality by using the following commands:
git add .
git commit -m "Inventory tutorial complete"
git push origin inventory
If you wish this functionality to be deployed to your production app and you have the CI/CD workflow in place to automatically deploy this code to Azure (that was covered in the main course) then you can then Compare a pull request, then merge in your changes from the new branch.

That's the inventory tutorial complete.
Comments
Loading comments...