Skinet Inventory Tutorial
Adding create, edit and delete functionality
Now we have the form lets make sure it functions.
Updating the openCreateDialog() method
Inject the admin.service into the admin-catalog.component.ts:
private adminService = inject(AdminService);Update the openCreateDialog() method with the following code in the admin-catalog.component.ts:
  openCreateDialog() {
    const dialog = this.dialog.open(ProductFormComponent, {
      minWidth: '500px',
      data: {
        title: 'Create product'
      }
    });
    dialog.afterClosed().subscribe({
      next: async result => {
        if (result) {
          const product = await firstValueFrom(this.adminService.createProduct(result.product));
          if (product) {
            this.products.push(product);
          }
        }
      }
    })
  }
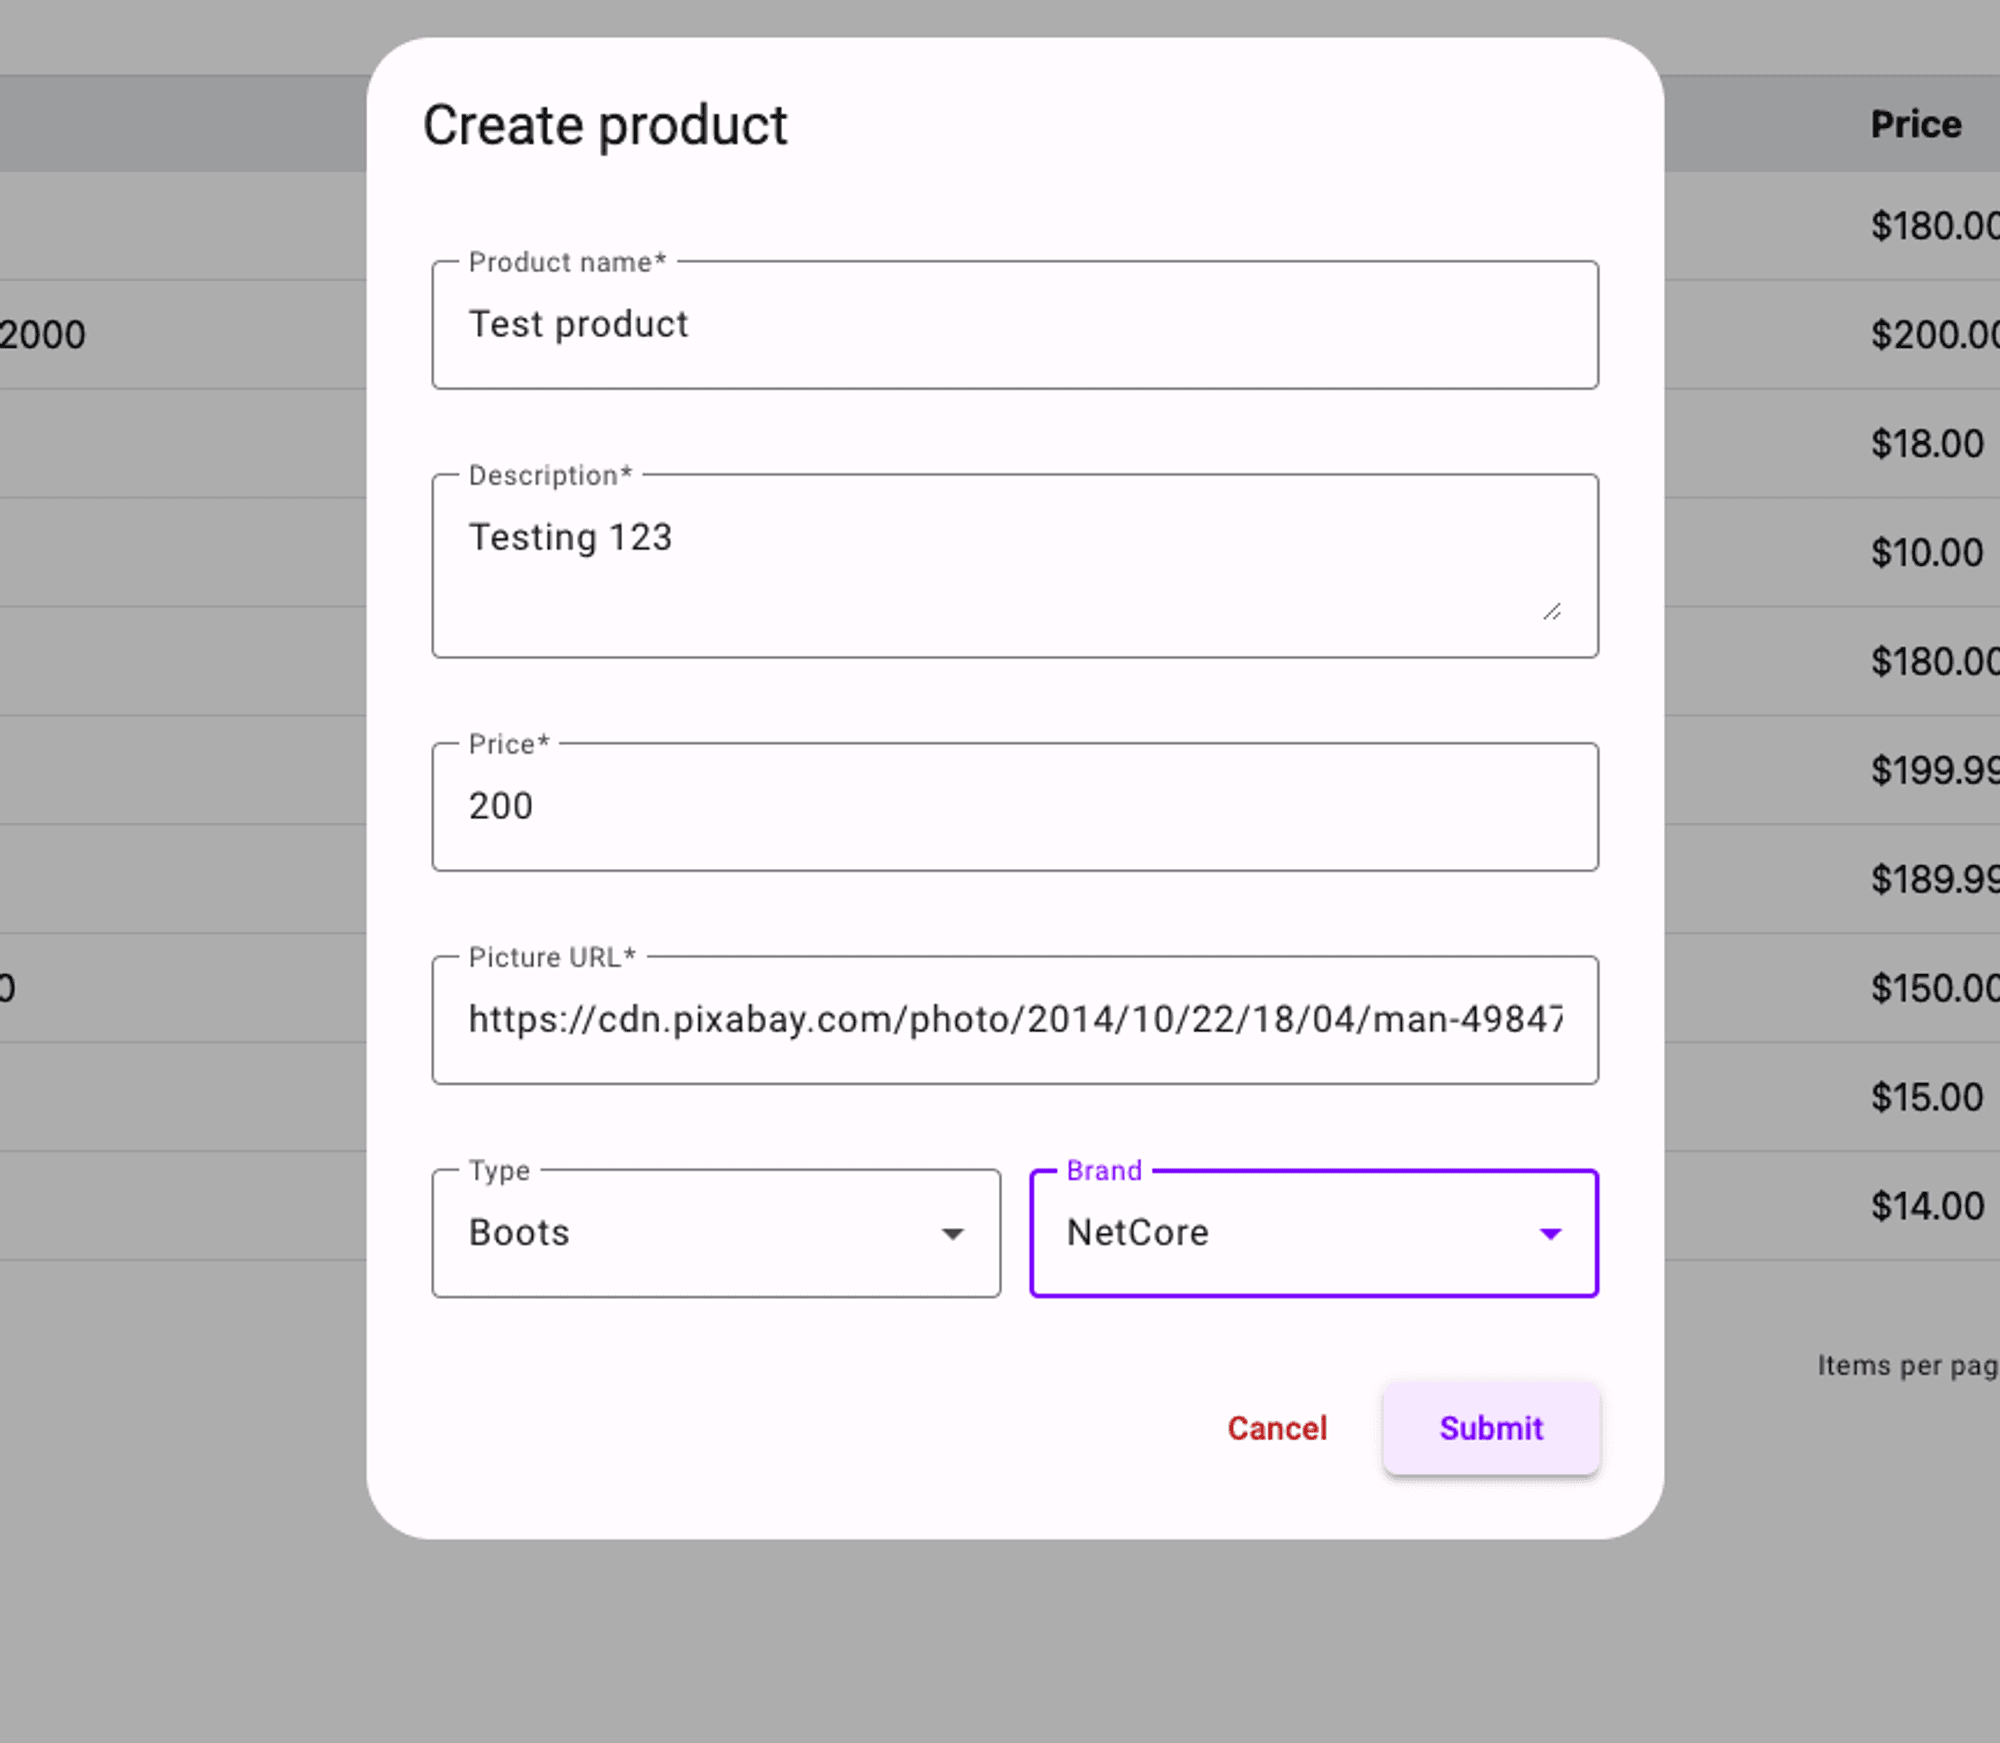
In this code we call the createProduct() method in the admin.service.ts to send up the request to the API ProductsController to create the new product. For the PictureURL just go to https://pixabay.com/images/search/skiing/ (for example) and copy the image url from one of these. We will not be adding image uploading in this specific tutorial.
Test the creation of a new product:
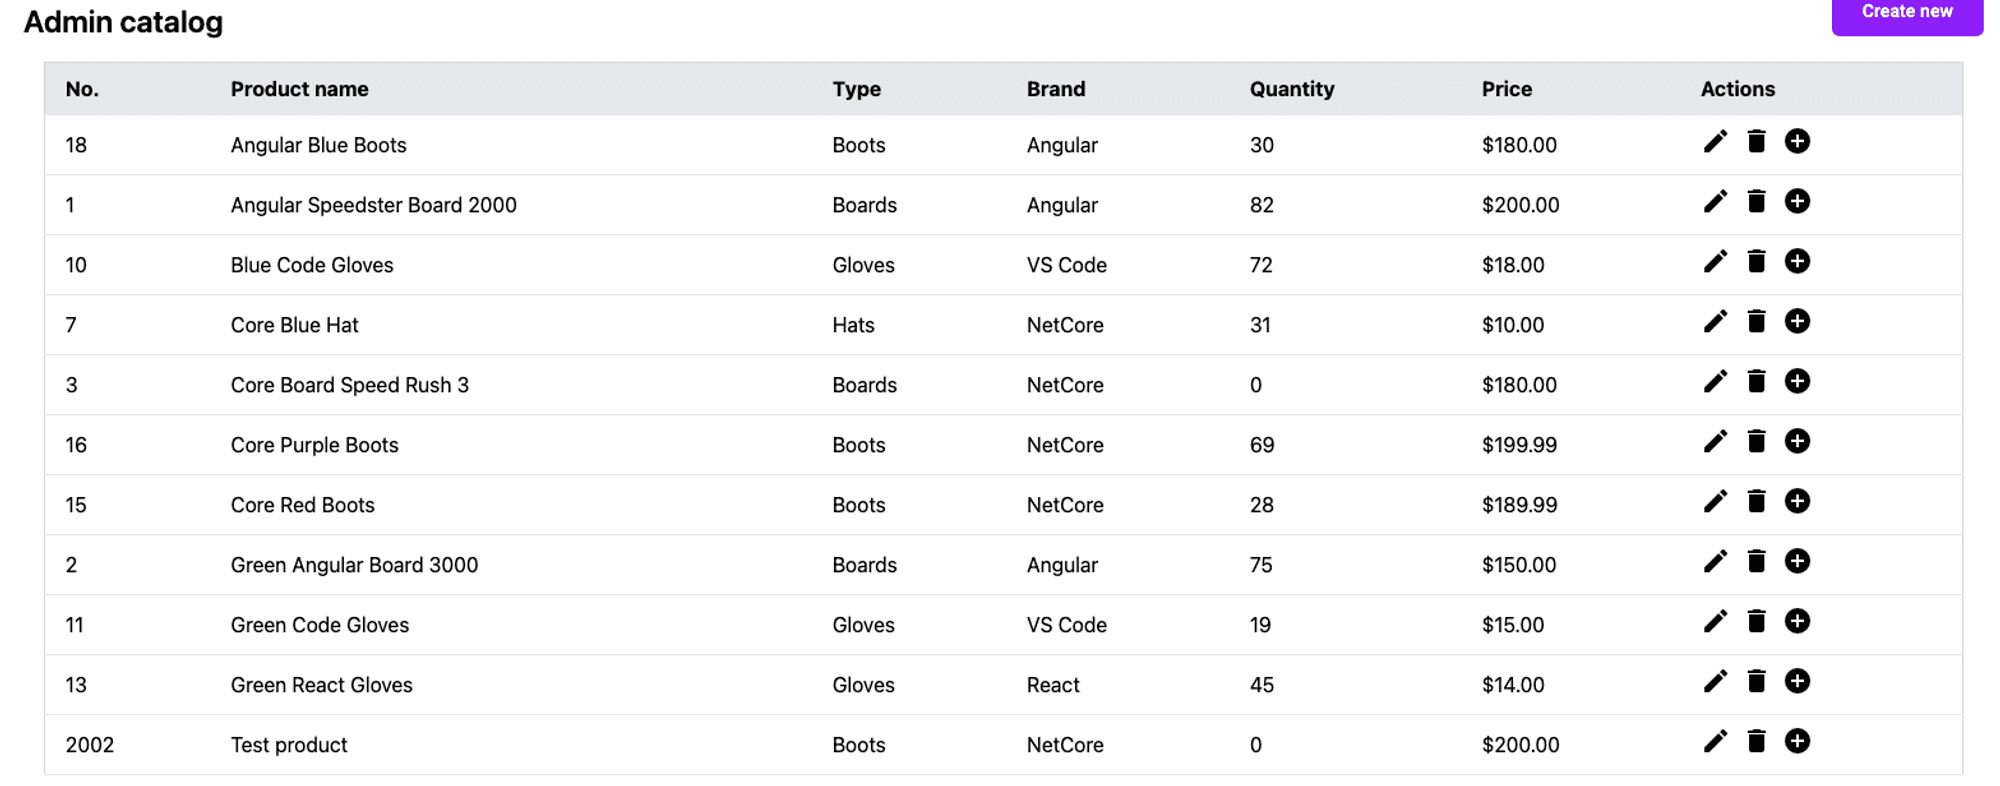
The “weird” id number you see in this screenshot is a consequence of how Sql Server works and how it pre-allocates identity values in blocks and caches them for performance reasons. If the server restarts (and this is a dev Sql server instance so it will have done at least in my case) it can cause the IDs to jump 1000s. To turn off this behaviour you can run the following Sql query against the DB if you wish but it is not really necessary as there is no need for the IDs to be sequential here:
ALTER DATABASE SCOPED CONFIGURATION SET IDENTITY_CACHE = OFF;Another thing you might notice is that the pagination does not auto-magically update. There isn’t much we can do about this other than requesting a new batch of products from the API so we will just let this slide on the basis that it is not customer facing functionality.
Creating the edit functionality
Create a new method in the admin-catalog.component.ts:
  openEditDialog(product: Product) {
    const dialog = this.dialog.open(ProductFormComponent, {
      minWidth: '500px',
      data: {
        title: 'Edit product',
        product
      }
    })
    dialog.afterClosed().subscribe({
      next: async result => {
        if (result) {
          await firstValueFrom(this.adminService.updateProduct(result.product));
          const index = this.products.findIndex(p => p.id === result.product.id);
          if (index !== -1) {
            this.products[index] = result.product;
          }
        }
      }
    })
  }
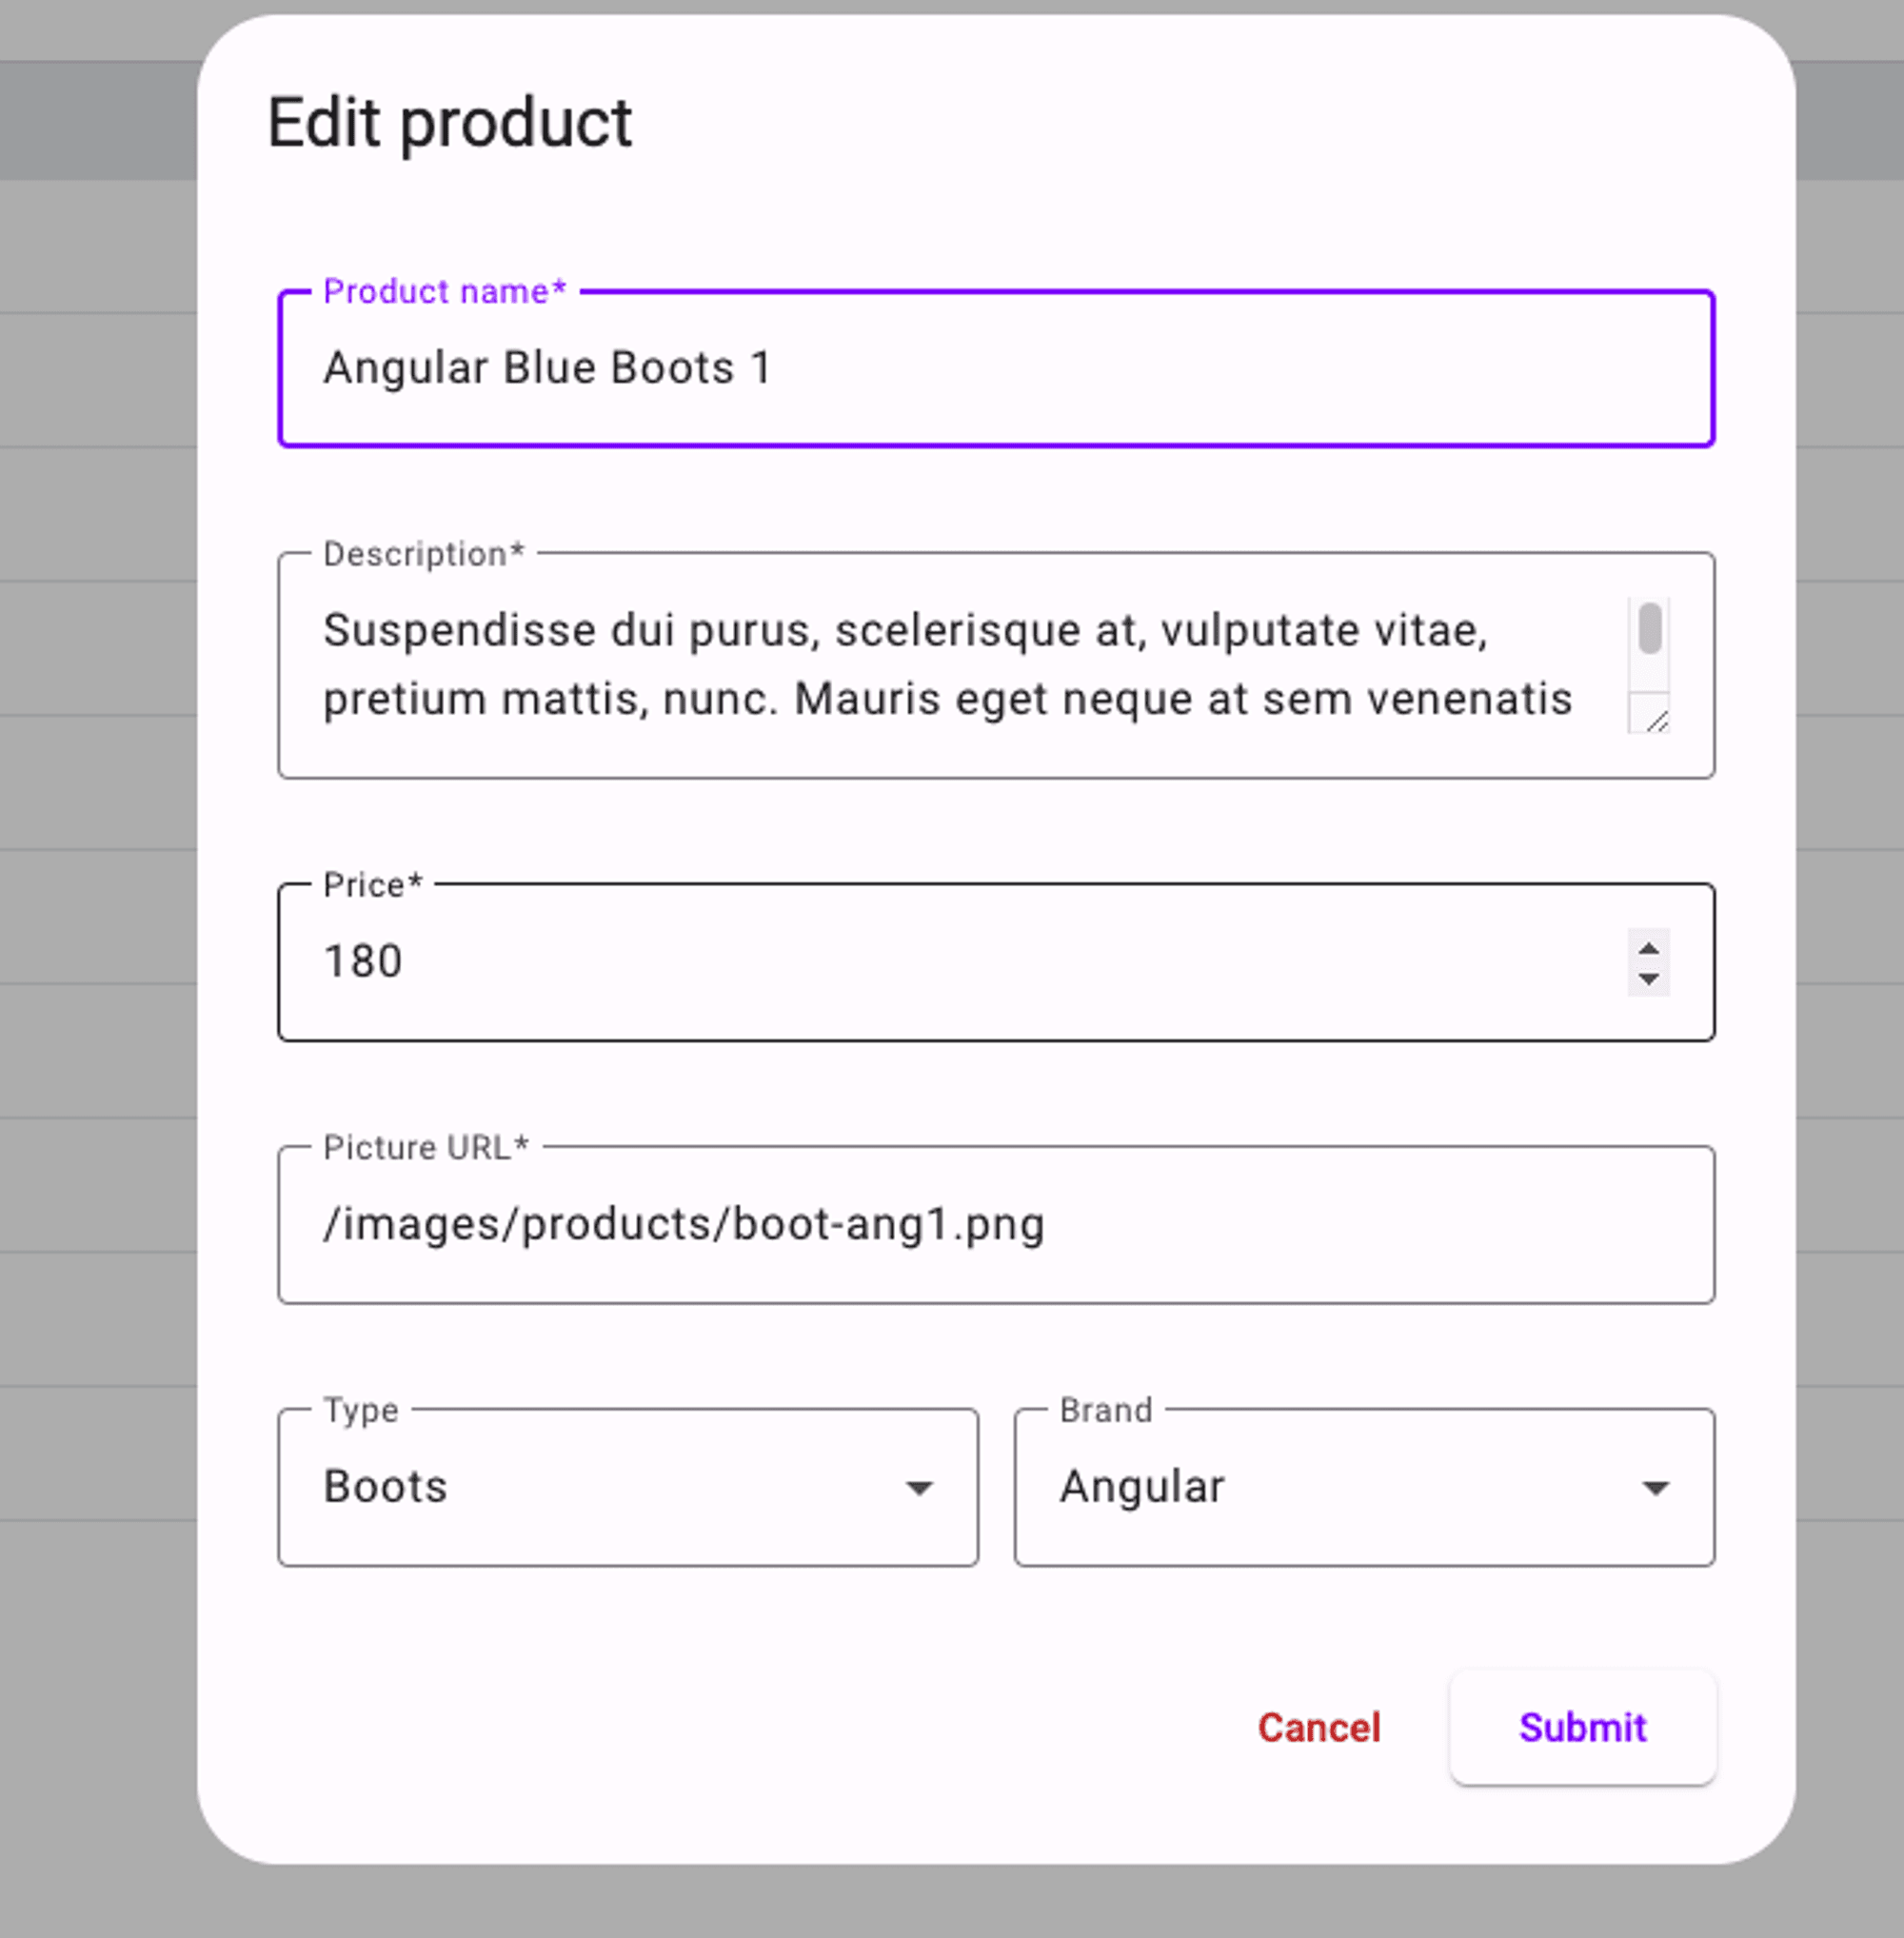
In this code we pass the selected product to the product-form dialog component as well as an updated title for editing of the product. When the form is submitted we receive the updated product and can then update the products array we have in the admin-catalog by using the findIndex() method to get the product from the array and then replacing it with the updated product.
Update the actions array in the admin-catalog.component.ts to call this new method when the button is clicked:
  actions = [
    {
      label: 'Edit',
      icon: 'edit',
      tooltip: 'Edit product',
      action: (row: any) => {
        this.openEditDialog(row)
      }
    },
The ‘row’ in this case is the product on the row the button is on.
Update the product-form.component.ts as we need to reset the form with the selected product that is about to be edited. Update the ngOnInit() method to access the product and reset the form with the product we are editing:
  ngOnInit(): void {
    this.initializeForm();
    setTimeout(() => {
      this.loadBrandsAndTypes();
    })
    if (this.data.product) {
      this.productForm.reset(this.data.product)
    }
  }
Also update the onSubmit() method so that we include the product.id with the updated products from the form:
onSubmit(): void {
if (this.productForm.valid) {
let product: Product = this.productForm.value;
if (this.data.product) product.id = this.data.product.id;
this.dialogRef.close({
product
})
}
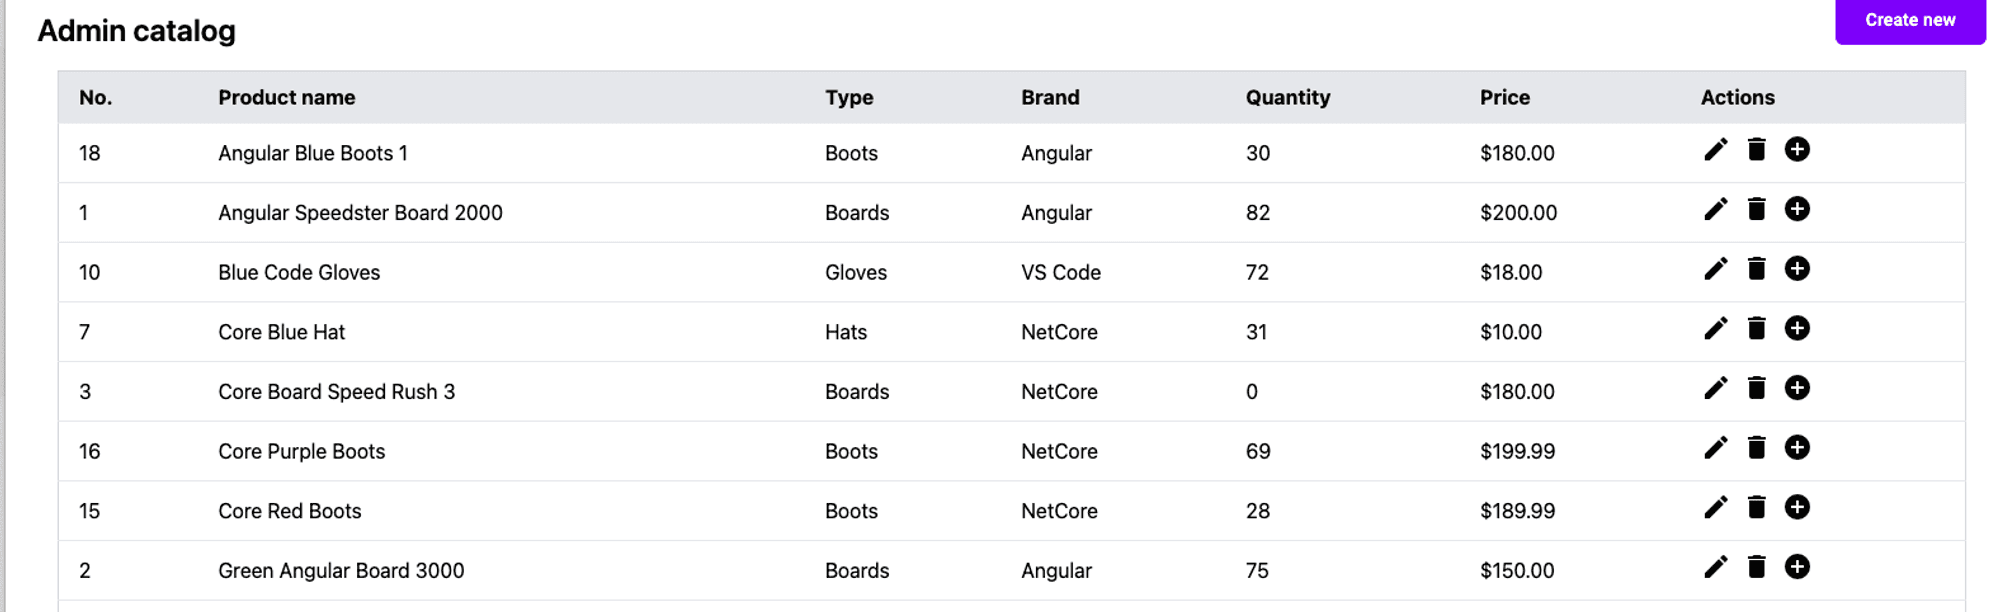
}You can now test this functionality by updating a product in the catalog which should work correctly:
Adding the delete product functionality
Lets also deal with the deletion of a product. We will use our confirmation service with this one so inject the dialogService we created as part of the main course into the admin-catalog.component.ts:
private dialogService = inject(DialogService);Create a method to open the confirm dialog as well as a delete method to actually delete the product when confirmed:
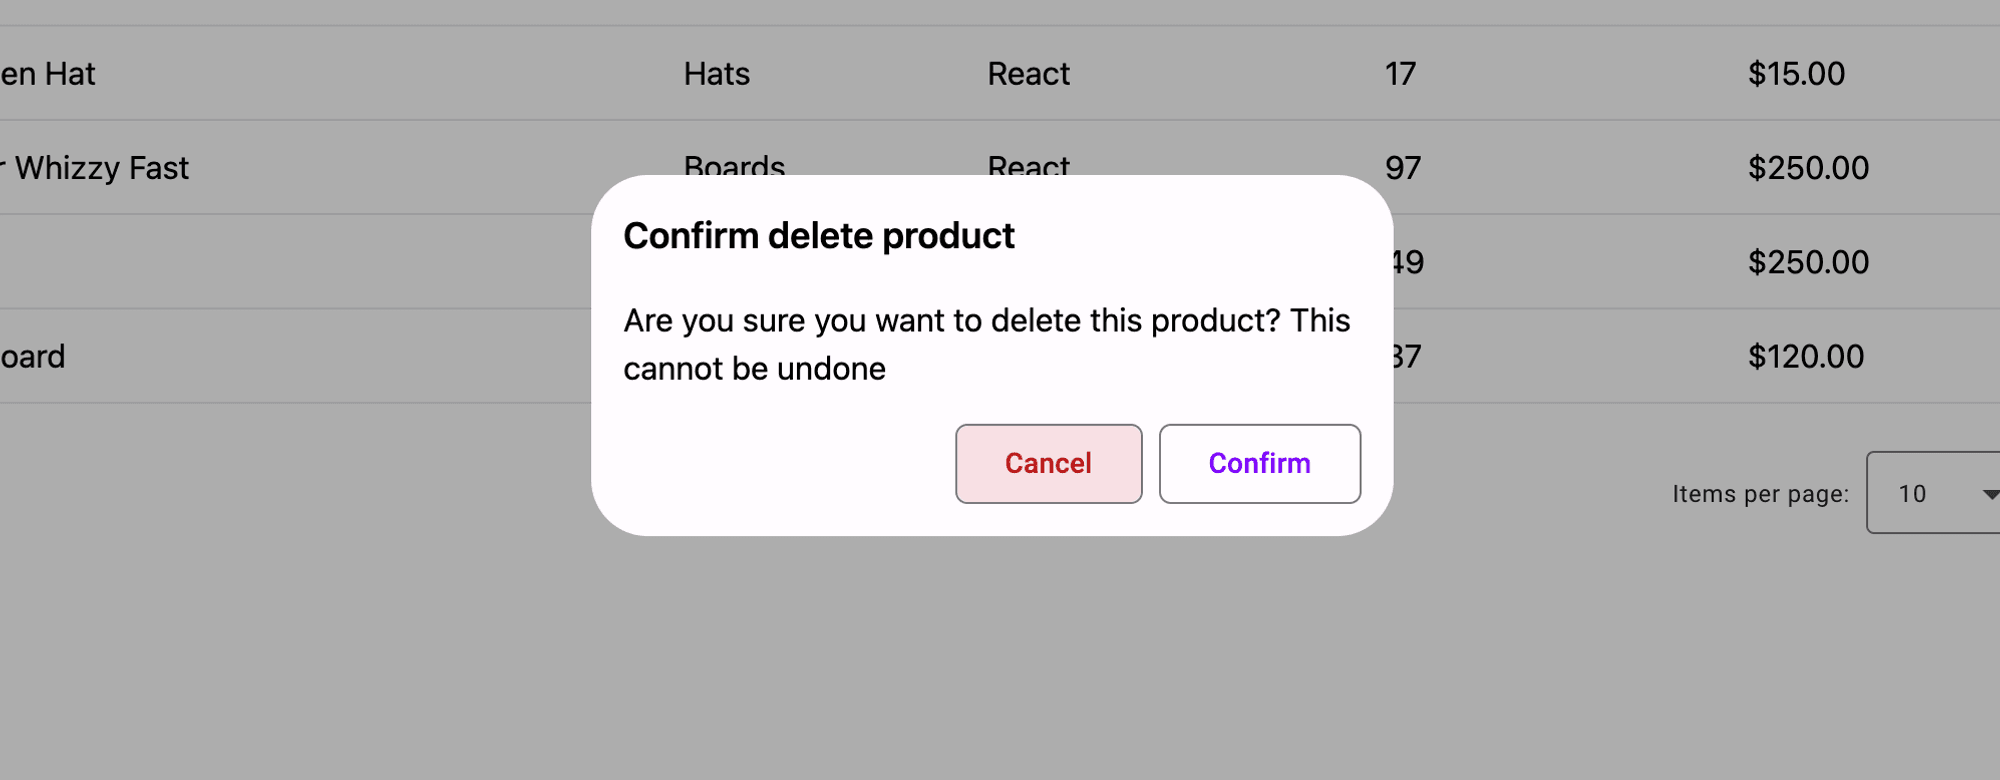
  async openConfirmDialog(id: number) {
    const confirmed = await this.dialogService.confirm(
      'Confirm delete product',
      'Are you sure you want to delete this product? This cannot be undone'
    );
    if (confirmed) this.onDelete(id);
  }

  onDelete(id: number) {
    this.adminService.deleteProduct(id).subscribe({
      next: () => {
        this.products = this.products.filter(x => x.id !== id);
      }
    })
  }
Then update the actions to call this method:
  actions = [
    {
      label: 'Edit',
      icon: 'edit',
      tooltip: 'Edit product',
      action: (row: any) => {
        this.openEditDialog(row)
      }
    },
    {
      label: 'Delete',
      icon: 'delete',
      tooltip: 'Delete product',
      action: (row: any) => {
        this.openConfirmDialog(row.id)
      }
    },
Try deleting the new test product and it should be removed from the list:
Lets also add another button to allow the admin to view the product details from the catalog table. Inject the router so we can route them to this product page in the admin-catalog.component.ts
private router = inject(Router);Add the following to the actions array:
   actions = [
    {
      label: 'View',
      icon: 'visibility',
      tooltip: 'View product',
      action: (row: any) => {
        this.router.navigateByUrl(`/shop/${row.id}`)
      }
    },
You should be able to click on the view button and be taken to the product details page:
Optional challenge
Perhaps you would like the admin to be able to edit the product from the product detail page. See if you can add the functionality to do this using the product form dialog component we have already created in this tutorial. Ensure if you do this the buttons are only visible to the admin, and also give the admin a way to get back to the admin component, as well as ensuring the update is reflected in the details page.
Great, now we have all the CRUD functionality for creating, editing and deleting products, next we will focus on stock control and quantities.
Comments
Loading comments...