Skinet Inventory Tutorial
Adding a product form
Adding the additional API Functionality
We already have the code for the create, update and delete in the Products controller, protected with role based authentication so that only the Admin user can use this functionality. We will add another method in here though specifically to update the quantity in stock for a product. Open the API/Controllers/ProductsController.cs and add the following endpoint:
    [InvalidateCache("api/products|")]
    [Authorize(Roles = "Admin")]
    [HttpPut("update-stock/{productId}")]
    public async Task<ActionResult> UpdateStock(int productId, [FromBody]int newQuantity)
    {
        var productItem = await unit.Repository<Product>().GetByIdAsync(productId);

        if (productItem == null)
        {
            return NotFound("Product not found");
        }

        productItem.QuantityInStock = newQuantity;

        unit.Repository<Product>().Update(productItem);

        if (await unit.Complete())
        {
            return Ok();
        }

        return BadRequest("Problem updating stock");
    }
This will allow us to simply overwrite the QuantityInStock property with the updated quantity in stock.
Adding the Angular admin.service methods.
Add the following methods to the admin.service.ts:
 createProduct(product: Product) {
    return this.http.post<Product>(this.baseUrl + 'products', product);
  }

  updateProduct(product: Product) {
    return this.http.put(this.baseUrl + 'products/' + product.id, product);
  }

  deleteProduct(id: number) {
    return this.http.delete(this.baseUrl + 'products/' + id);
  }

  updateStock(id: number, newQuantity: number) {
    return this.http.put(this.baseUrl + 'products/update-stock/' + id, newQuantity);
  }
These just call the endpoints in the Products controller and are fairly self explanatory so lets move on…
Adding the product form component
We will make use of an Angular dialog component to deal with the creation of the product and make use of Reactive forms.
Create a new component for the product form in the admin feature folder:
ng g c features/admin/product-form --skip-testsUpdate the code in the product-form.component.ts to the following:
import { Component, inject, OnInit } from '@angular/core';
import { FormBuilder, FormGroup, ReactiveFormsModule, Validators } from '@angular/forms';
import { Product } from '../../../shared/models/product';
import { TextInputComponent } from "../../../shared/components/text-input/text-input.component";
import { MatButtonModule } from '@angular/material/button';
import { MAT_DIALOG_DATA, MatDialogModule, MatDialogRef } from '@angular/material/dialog';

@Component({
  selector: 'app-product-form',
  standalone: true,
  imports: [
    TextInputComponent,
    MatButtonModule,
    MatDialogModule,
    ReactiveFormsModule,
],
  templateUrl: './product-form.component.html',
  styleUrl: './product-form.component.scss'
})
export class ProductFormComponent implements OnInit {
  productForm!: FormGroup;
  data = inject(MAT_DIALOG_DATA);
  private fb = inject(FormBuilder);
  private dialogRef = inject(MatDialogRef<ProductFormComponent>);

  ngOnInit(): void {
    this.initializeForm();
  }

  initializeForm() {
    this.productForm = this.fb.group({
      name: ['', [Validators.required]],
      description: ['', [Validators.required]],
      price: [0, [Validators.required, Validators.min(0)]],
      pictureUrl: ['', [Validators.required]],
      type: ['', [Validators.required]],
      brand: ['', [Validators.required]],
      quantityInStock: [0, [Validators.required, Validators.min(0)]]
    });
  }

  onSubmit(): void {
    if (this.productForm.valid) {
      let product: Product = this.productForm.value;
      this.dialogRef.close({
        product
      })
    }
  }
}
In this code we are using a reactive form from Angular to store the values entered by the user into the form. This will also open in a dialog so we inject the MatDialogRef on line. In the onSubmit() method we return the product from the dialog to the component that opened the dialog using the dialogRef.close() method.
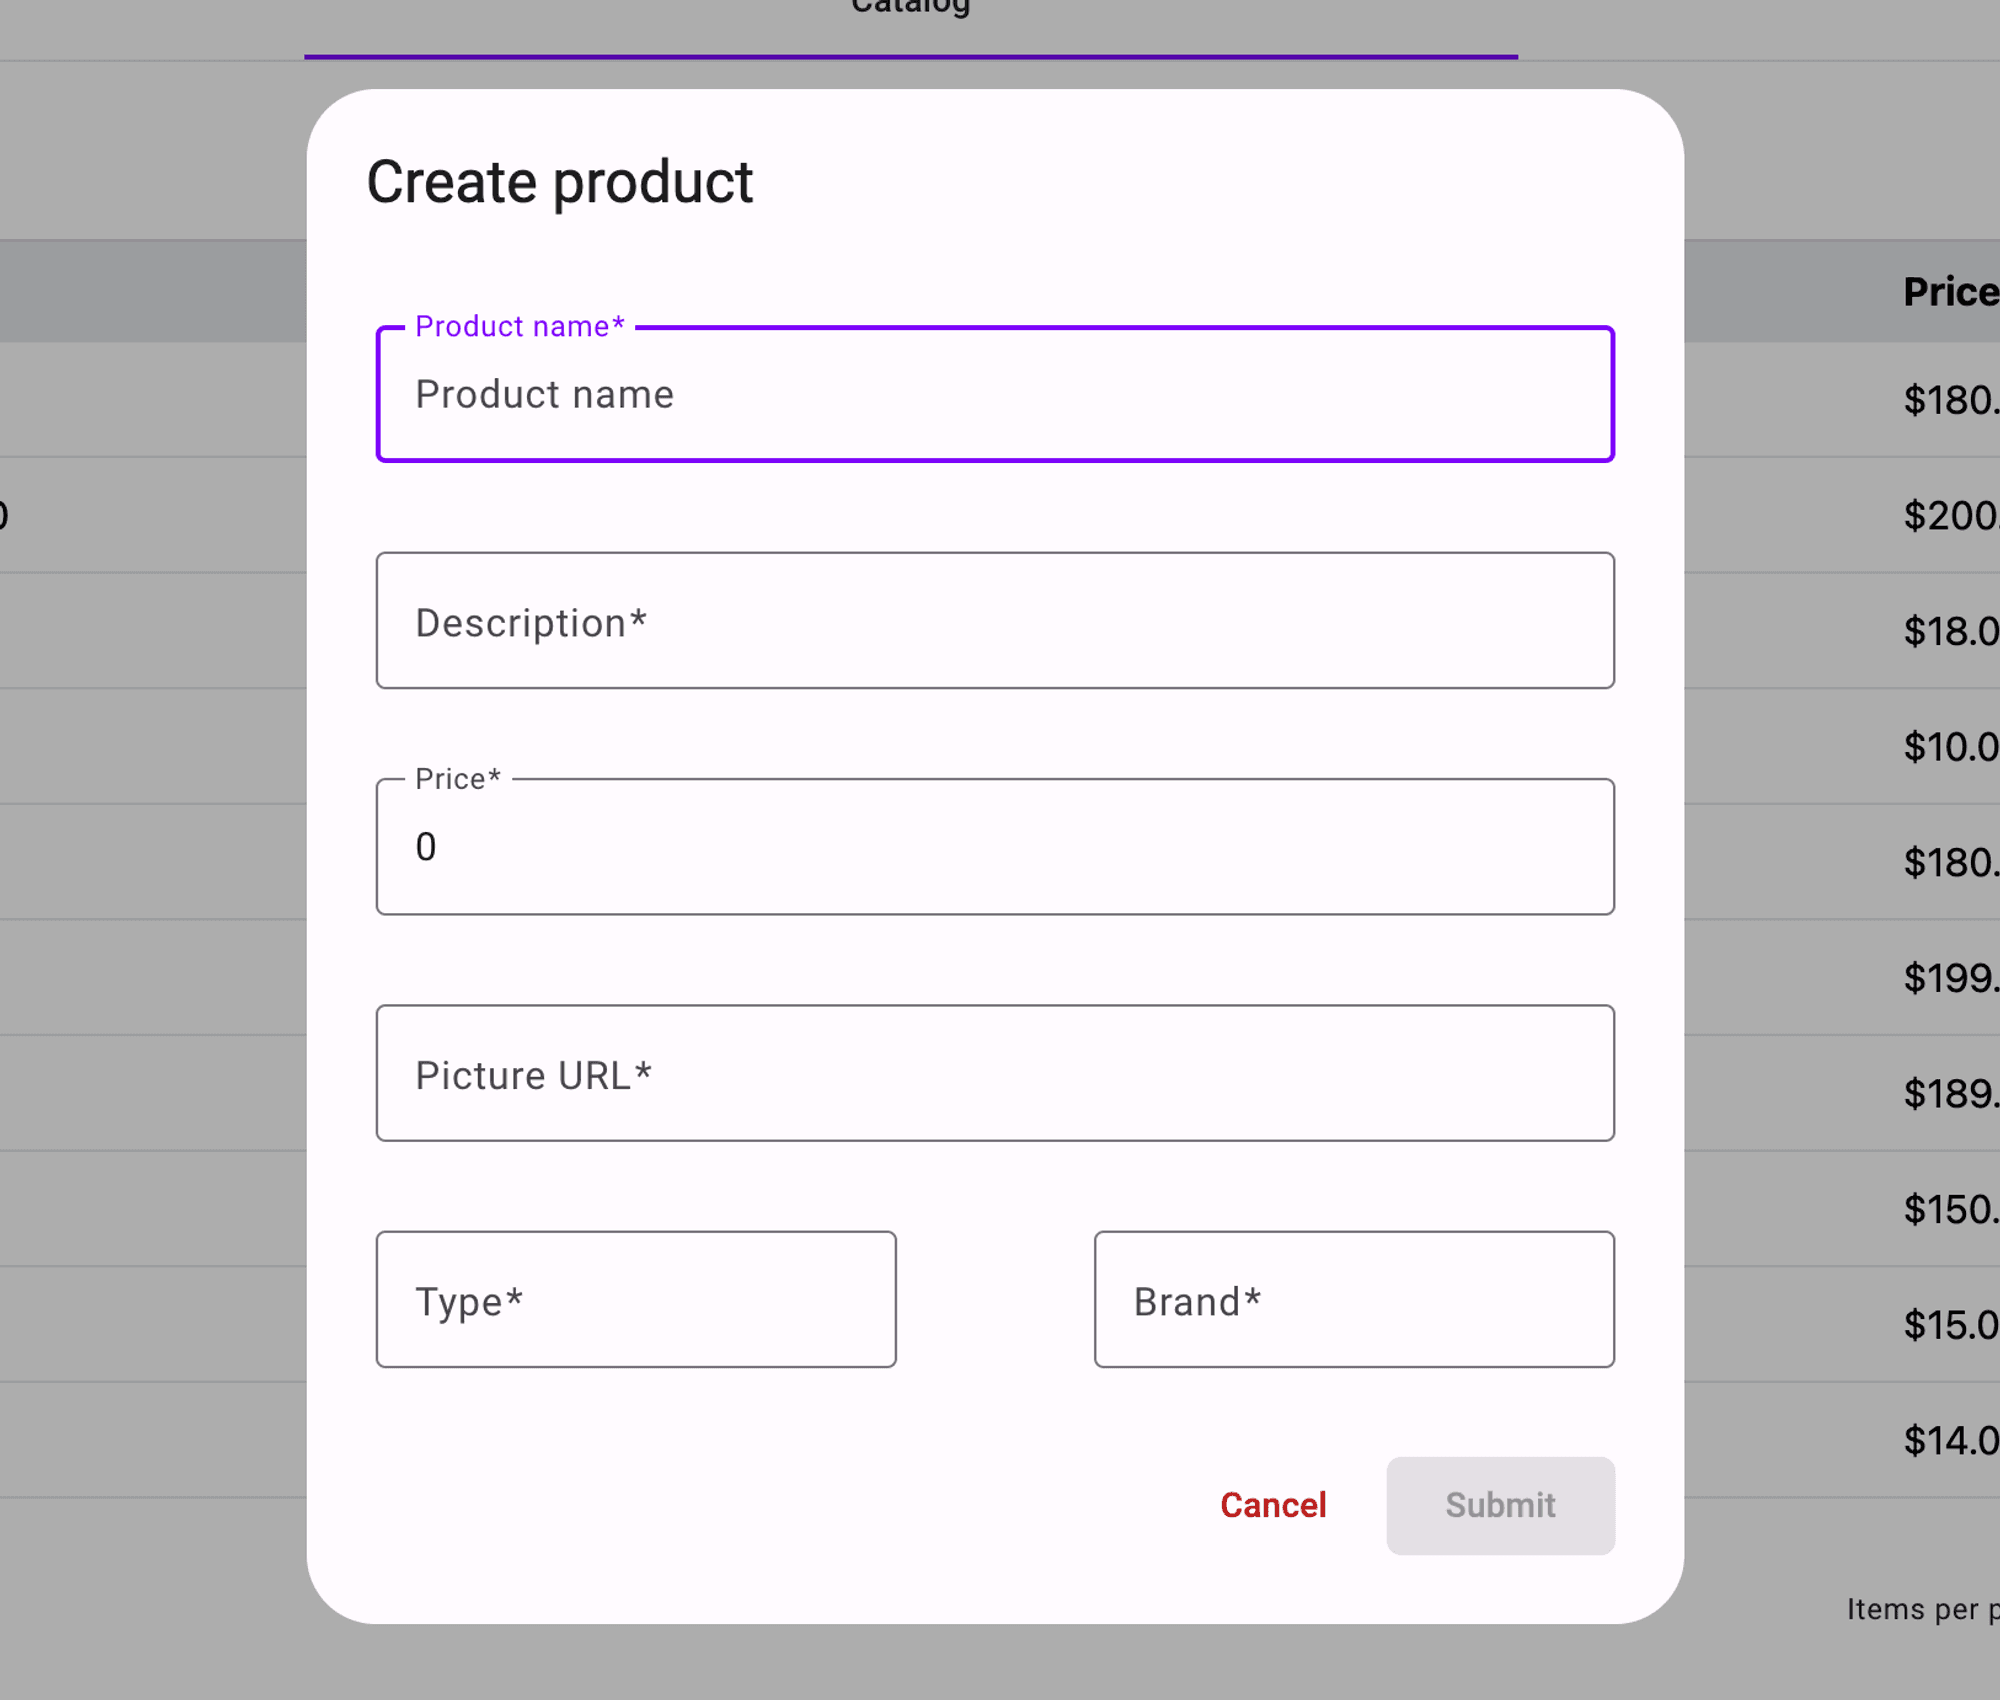
Next update this components template:
<h2 mat-dialog-title>{{data.title}}</h2>
<mat-dialog-content class="p-3">
  <form [formGroup]="productForm" class="p-4 w-full" (ngSubmit)="onSubmit()">
    <app-text-input label="Product name" formControlName="name" />
    <app-text-input label="Description" formControlName="description" />
    <app-text-input label="Price" formControlName="price" type="number" />
    <app-text-input label="Picture URL" formControlName="pictureUrl" />
    <div class="flex justify-between w-full gap-3">
      <app-text-input label="Type" formControlName="type" />
      <app-text-input label="Brand" formControlName="brand" />
    </div>

    <div class="flex justify-end gap-3">
      <button mat-button color="warn" type="button" mat-dialog-close>Cancel</button>
      <button mat-raised-button color="primary" type="submit" [disabled]="productForm.invalid">
        Submit
      </button>
    </div>

  </form>
</mat-dialog-content>
In this code we are making use of the re-usable text inputs we created earlier, but we will need to create more re-usable inputs for the select input (brand and type) and the text area input (description). We will create these soon.
Using the new form in the catalog component
Next we will edit the admin-catalog.component.ts so open this up in VS Code. Inject the MatDialog service:
private dialog = inject(MatDialog);Add the following method in this component to open the ProductFormComponent in a dialog:
openCreateDialog() {
const dialog = this.dialog.open(ProductFormComponent, {
minWidth: '500px',
data: {
title: 'Create product'
}
});
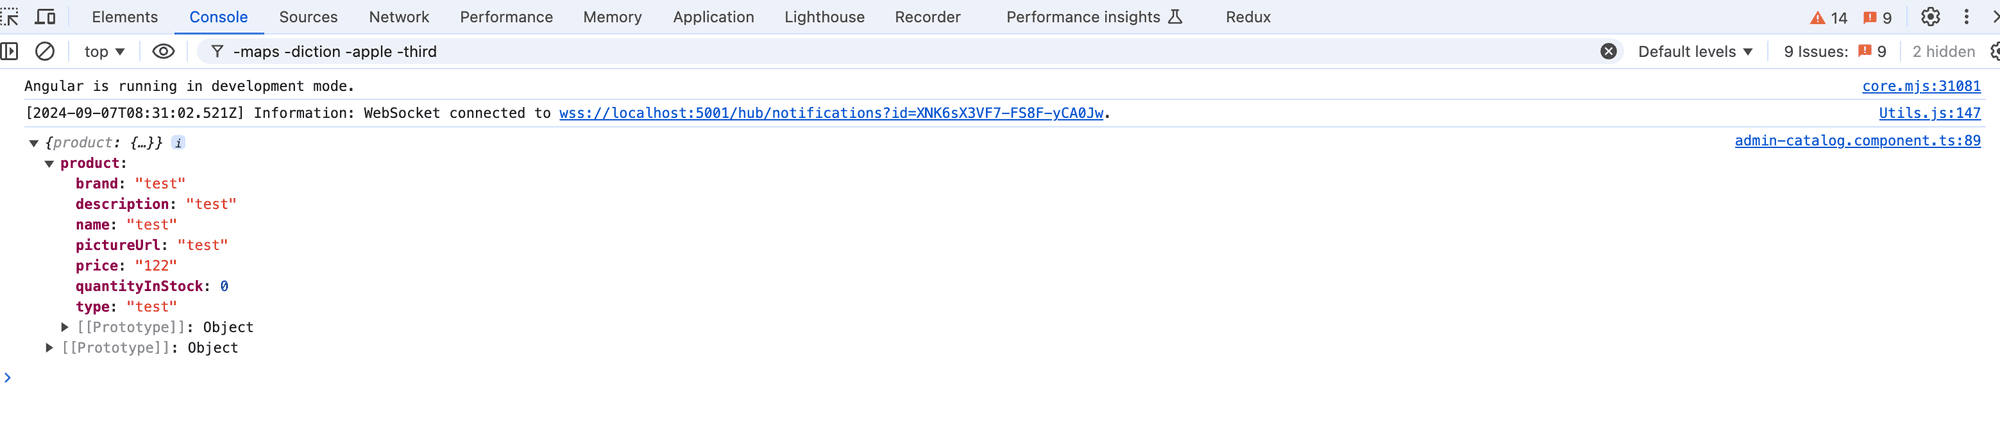
dialog.afterClosed().subscribe({
next: async result => {
if (result) {
console.log(result)
}
}
})
}In this method we use the MatDialog service to call it’s open() method and open the ProductFormComponent. We are also passing the data object and giving it a title property we then use in the product form dialog component. When the submit button is clicked in the dialog we then subscribe to the afterClosed() event so that we can retrieve the created product and then use this for the createProduct request that goes to the API which we will implement soon.
Update the admin-catalog.component.html next and add the click event to call this new method:
  <button mat-flat-button (click)="openCreateDialog()">
    Create new
  </button>
You should now be able to test this which will give the following result:
You can test this form and you should see the following result in the chrome dev tools console:
Next we will take a look at creating re-usable components for the select input and the text-area inputs we will use in this form.
Comments
Loading comments...